General Info for all the Roles
How do I invite a staff member to the account and then assign him a needed role?
Staff page – data explanation
General Info for all the Roles
Here are the links to the detailed explanations of the zistemo’s Roles and Permissions:
Team Member role, Capture Data role, HR Admin, Administrator role, Account Owner role, Team Leader role.
How do I invite a staff member to the account and then assign him a needed role?
To invite a staff member to the account
go to Contacts ➝ Staff ➝ Add Staff ➝ fill the fields ->Choose the needed role from the dropdown (it can be a Team Member, a Capture Data, An HR Admin, an Administrator, and a Team Leader) and click ‘Save Staff’.
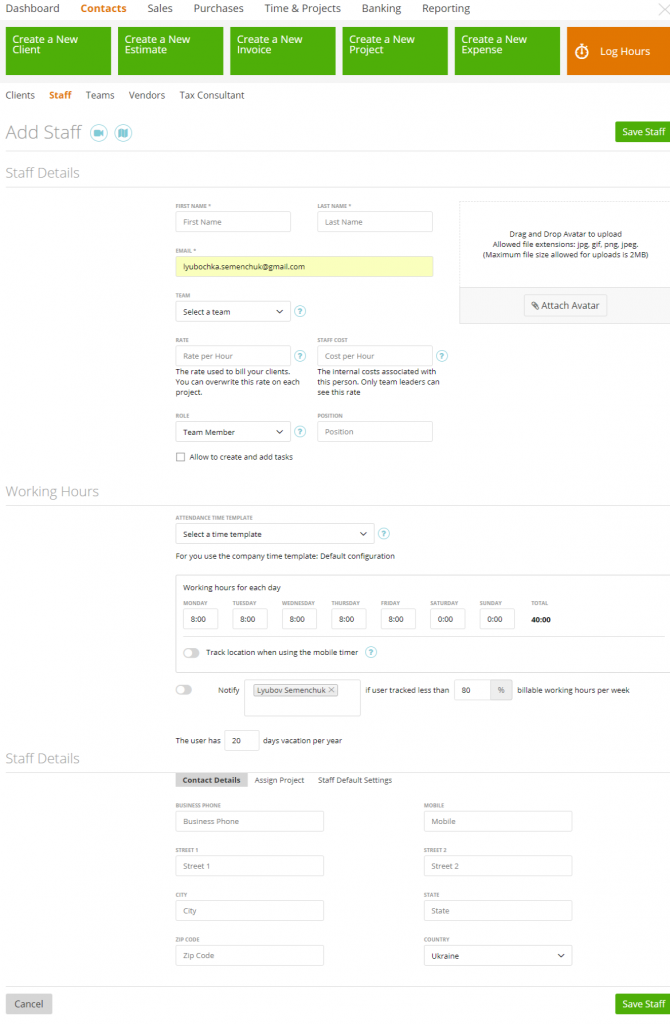
Staff page – data explanation
When you create or edit staff member roles – on the staff member page you’ll see the following data:
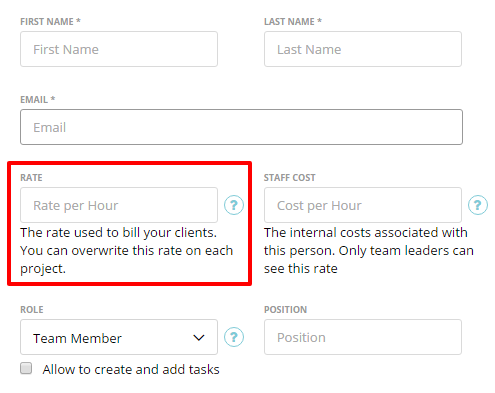
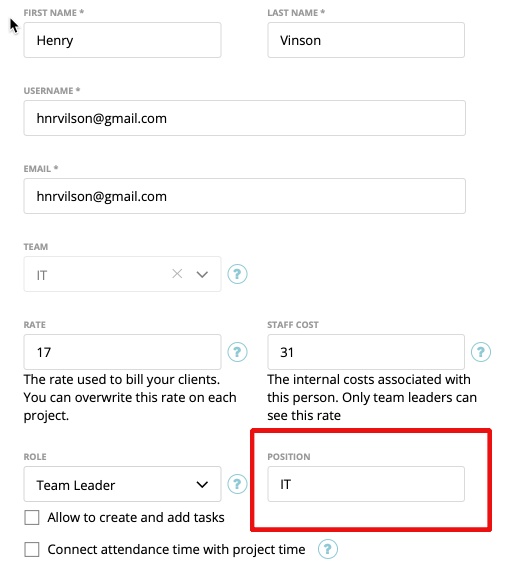
- Rate – this is the billing rate for the team member. This rate will be used to bill the clients if their projects are based on hourly staff rates.
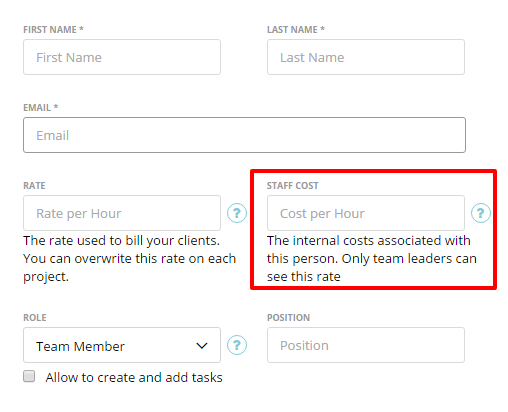
- Staff cost – this is a salary rate for the staff member. This data will be used to calculate the internal cost of the project. More info here
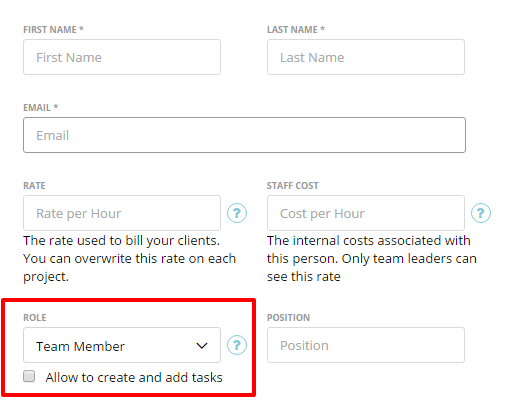
- Role – this is the role of the member. It can be a Capture data (for temporary staff members), an Administrator, a Team Leader, a Team Member or an HR Admin.
- Position – The ’Position’ field is meant to simplify any staff, projects and time overview you’re interested in. Find more infos here
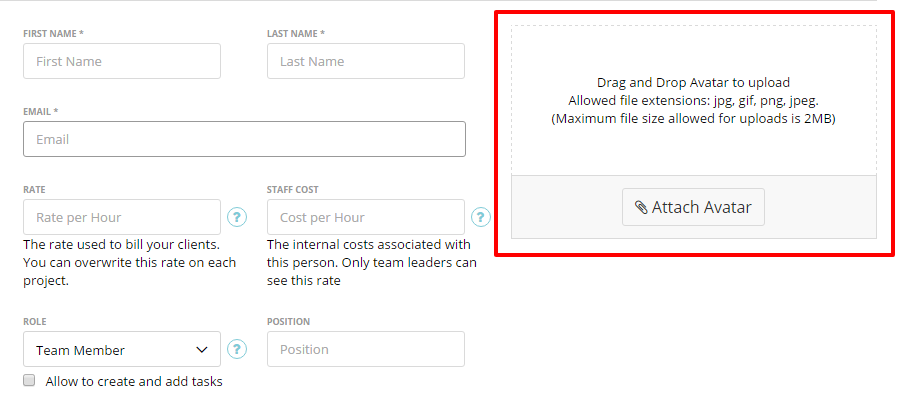
- Avatar – you can upload a photo of the staff member. This will be displayed on messages, invoices, estimates, and the projects overview.
- Checkboxes:
Allow to edit time records – please read more here
Allow to create and add tasks – please read more here
Allow to edit clock in / clock out time records for the last x days – please read more here
Allow to connect attendance time with project time – please read more here
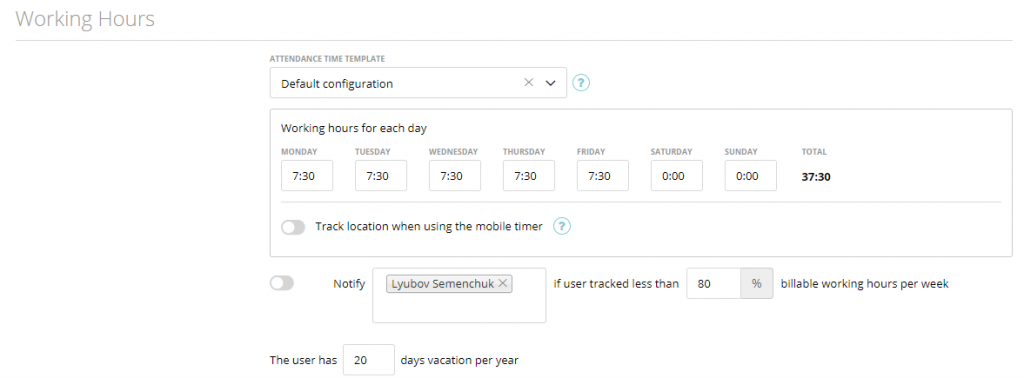
Working Hours Section – please read more here
- Attendance Time Template – choose the needed one from the drop-down. You can have up to 20 templates, for each user if that’s needed, or just one -Default Configuration. Please make sure the choice is made in the drop-down – more here
- Contact details – here you can enter the address of the staff member.
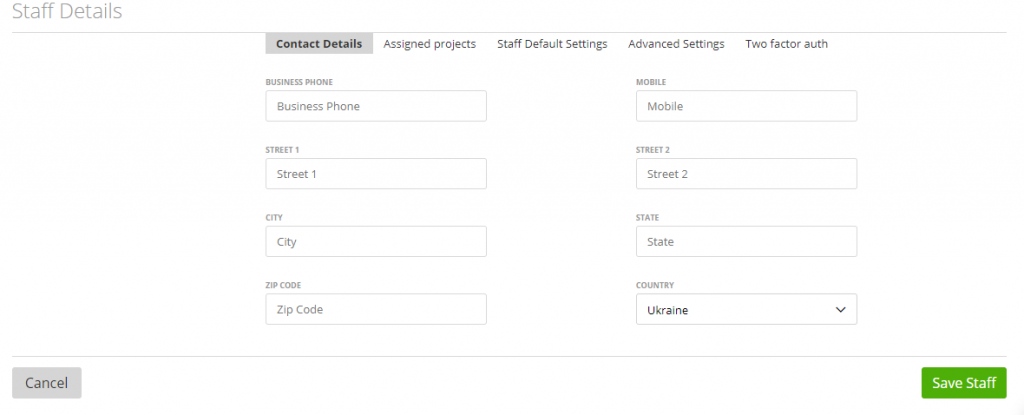
- Assigned projects – here you can assign the projects to your Staff Member – more here

- Staff default settings:
– Mileage rate: will be used by default for the mileage records created by this user
– Language: this is the language the member will see in the system in. As to the language changes, the system notifications we will show in the User’s language, but if its a notification that in the same time can receive a few users (as an example, the request to approve vacation, this notification can receive the admin and the department leader) then the text of this notification will be in the company’s language.
– Internal notes: more here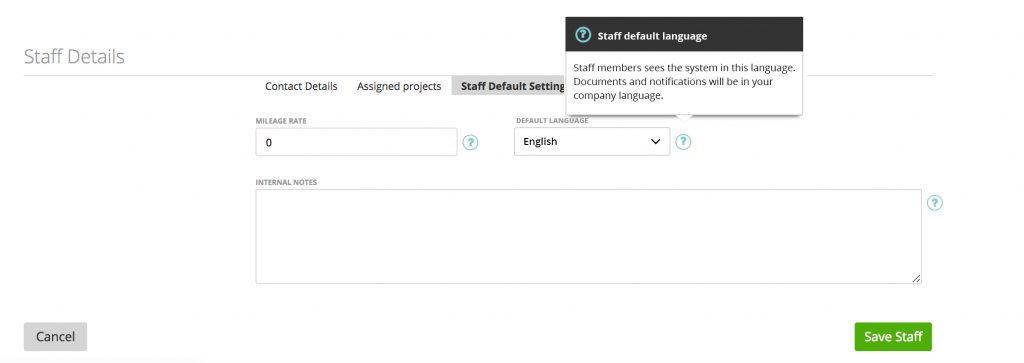
- Advanced Settings- this is where you can change the cost of your Staff. More here

- Two Factor Authentication – you can set it on this page. More about it here

Note The Advanced Settings and Two Factor Authentication you will see only after you add and save your staff member.
We also have an External Users’ Roles, such as a Client and a Tax Consultant.
You can invite them from the next tab:
- Contacts -> Clients -> Add a Client
- Contacts -> Tax Consultant -> Invite a Tax Consultant
