Create a new estimate
View or edit an estimate
Estimate data – description
Send an estimate to a customer
On estimates we recommend not to use long texts. With long texts it might happen that the format going to be messed up. When you need to have long texts on your estimates, we recommend to use interactive proposals ➝
Create a new estimate
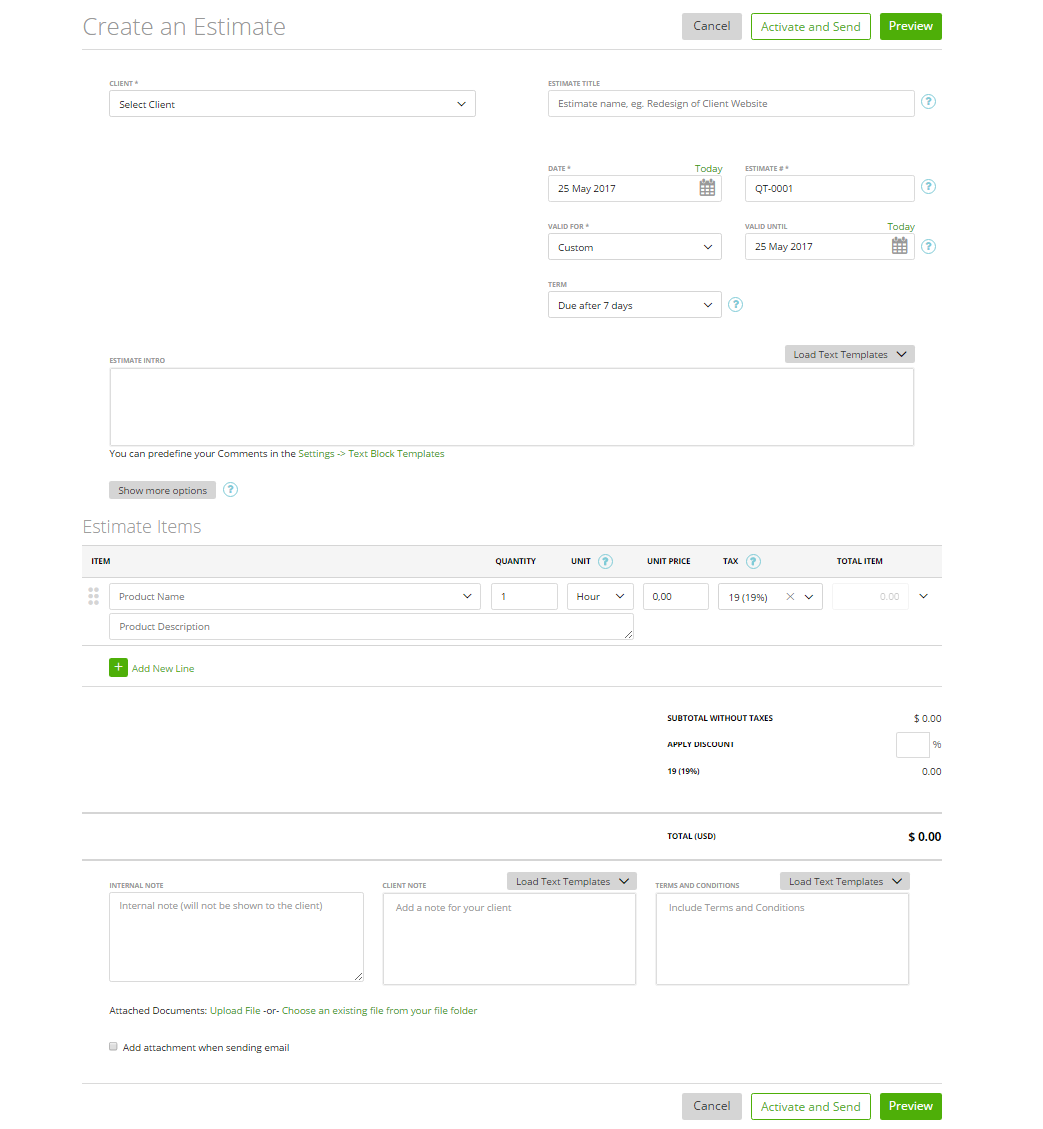
To create a new estimate go to, Sales ➝ Estimates ➝ Create Estimate ➝ fill fields ➝ click “Preview” or “Activate and Send”.
You can also find the “Create a new Estimate” feature in the Quick Toolbox:

View or edit an estimate
You can view an estimate by clicking on its name on the grid (Sales ➝ Estimates).
This will show you the view your clients will have of the estimate and it is how it will look like if printed.
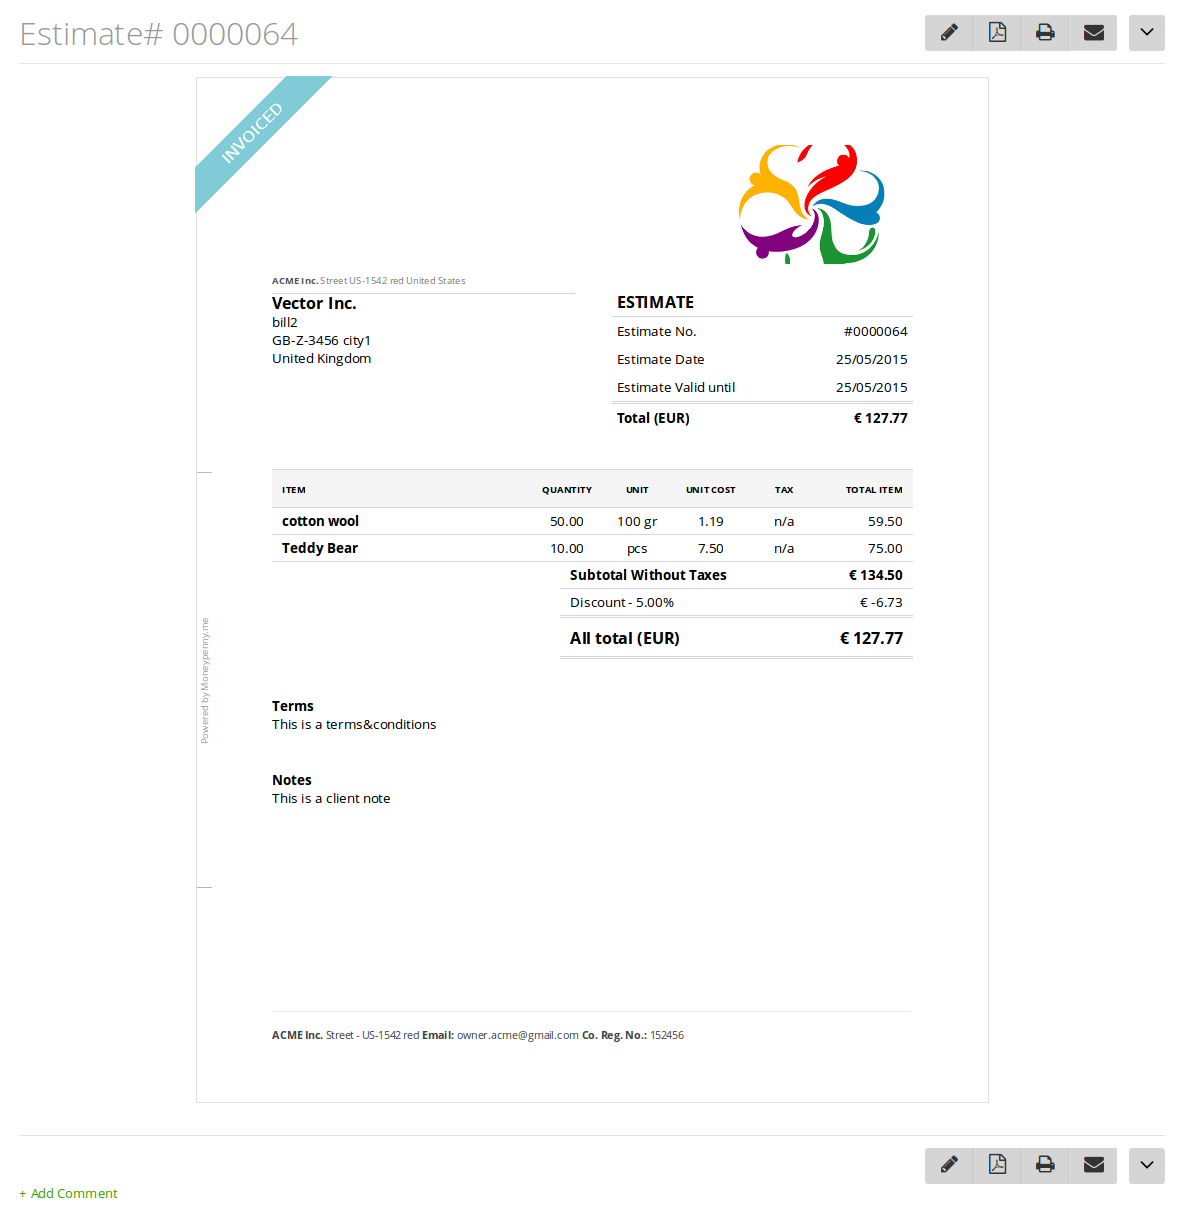
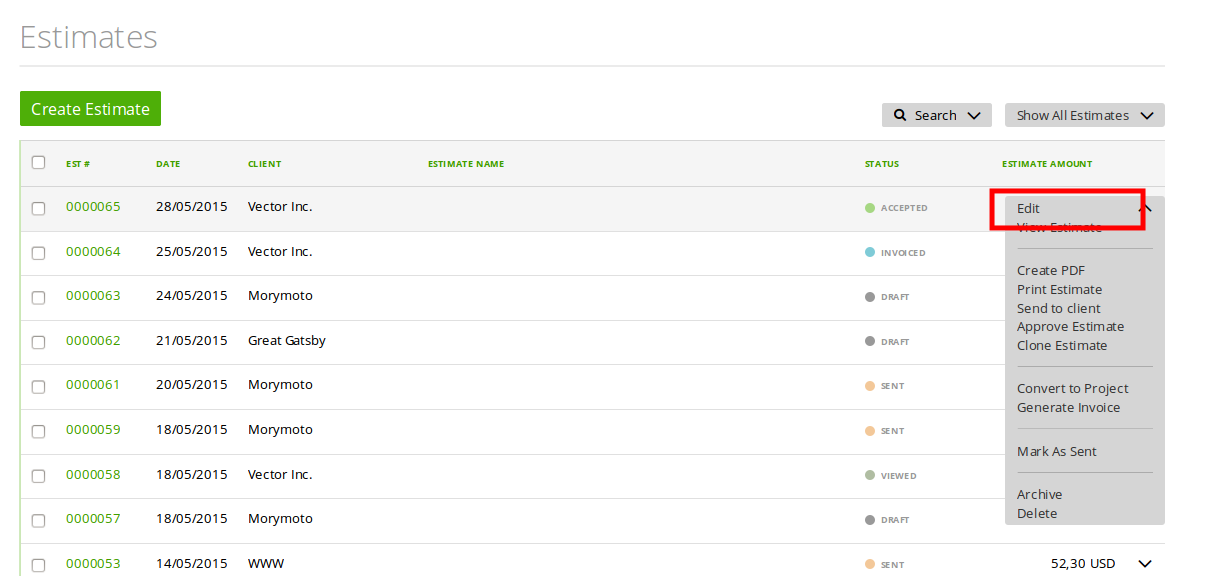
To edit an estimate, click on the pencil icon in the estimate preview or open the “Edit” link from the row end menu on the grid.
Estimate data – description
When you open an estimate page – you’ll see the following data and customization:
Estimate title – this may simply be an internal note and will be displayed on the Estimate Grid:
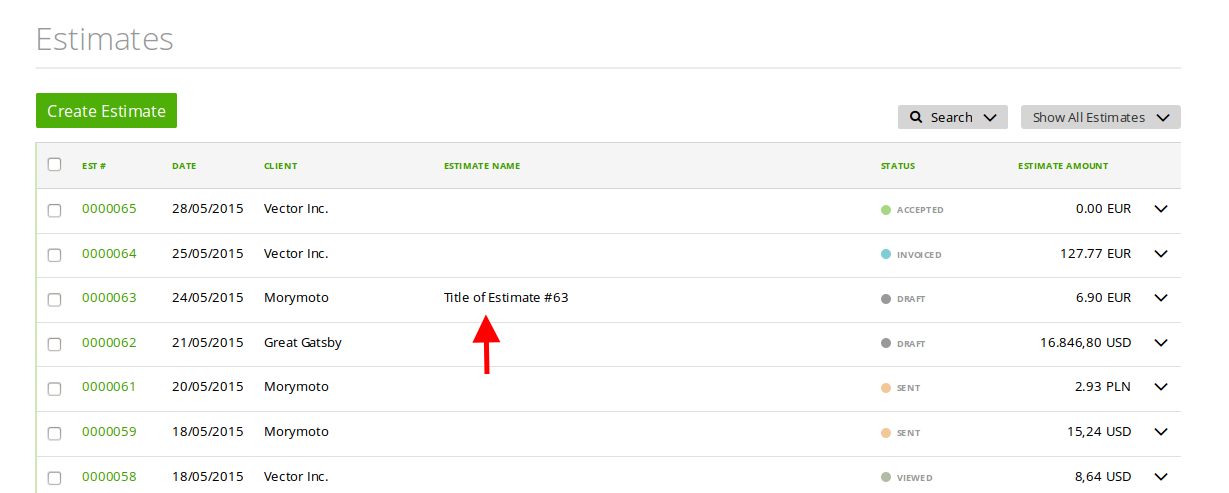
…Or it can be used as a text under the estimate name on the final version of the estimate document.
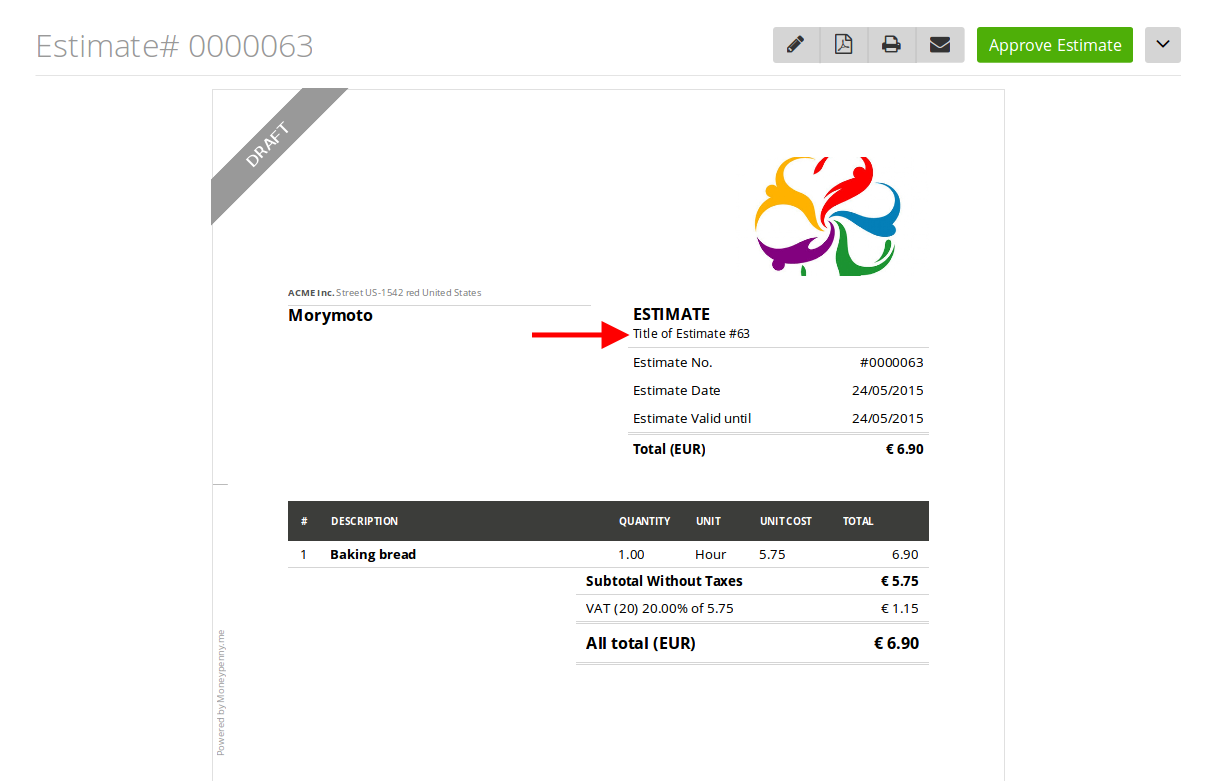
If you wish to include the title in the final version go to Settings ➝ Preferences ➝ Invoices & Estimates ➝ check the checkbox “Show invoice/estimate title in preview” (more here).
Estimate Number: – You can check/un-check the ability to update the estimate number here: Settings ➝ Invoices & Estiamtes ➝ checkbox “Allow editing invoice/estimate number”.
Change the estimate number format, go to: Settings ➝ Number Groups. More here
“Valid for”, “Valid until” – this field shows the client how long your estimate is valid for.
Note: the default ‘Valid for’ applied to all estimates is 4 weeks, but you can choose another period.
“Term” – means how many days from the invoice based on this estimate will be valid for payment.
More options:
“Language” – the language used in the estimate document
“Currency” – the currency of the estimate
Estimate items – this is the body of the invoice. You can choose tasks or items from the existing product list or create new product point.
Notes:
“Internal note” – a note which will only be visible whilst you are editing the estimate
“Client note”, “Terms and conditions” – these will be displayed on estimate preview.
Send an estimate to a customer
You can send an estimate by clicking “Activate and Send” on the create/edit estimate page.
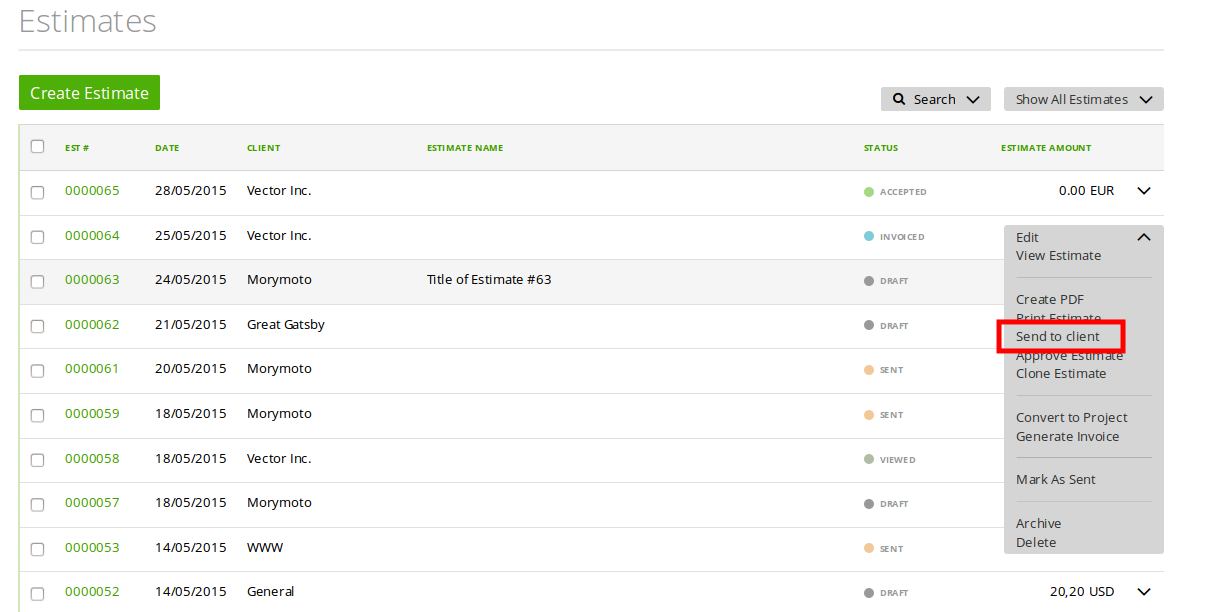
You can also send estimates by clicking “Send to client” on the row end menu.
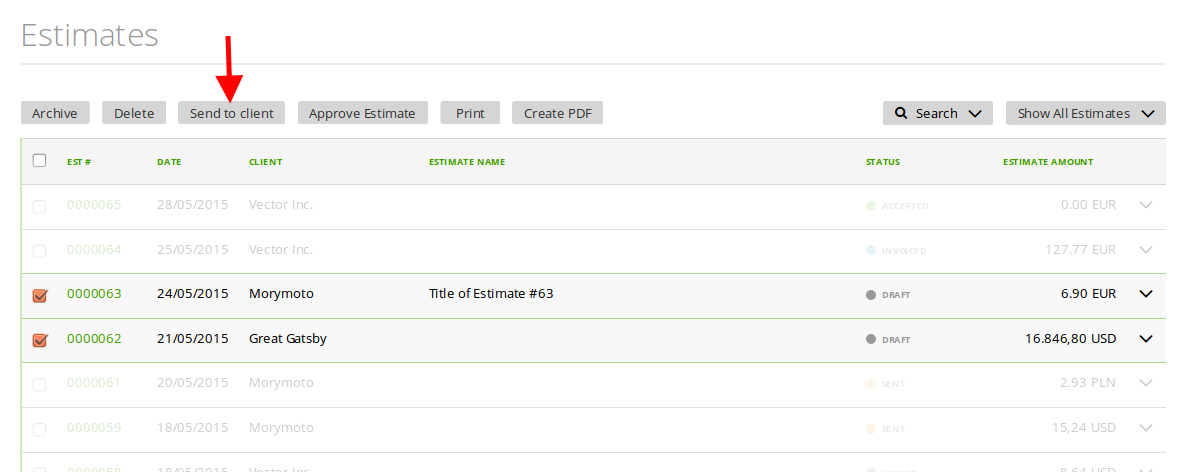
…Or by clicking ‘Send to client’ on the bulk actions
Note: If it’s important for you to have a Quote, not an Estimate, you can change it with our Template Editor.
Here is How to rename an Estimate to a Quote video.
