To plan your staff and assign time tickets to project members go to the scheduler.
Once you open it you access full screen mode. You can show/hide the main menu by clicking the control on the top:
Watch this Video (5:25) on how to get started with the scheduler
Filters
On the top you can apply different filters:
- Period Type (show calendar for days, weeks or months)
- Visible Staff (who do want to see?)
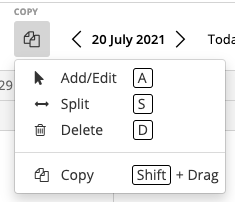
- Mode (apply different actions to a time ticket)
- “Today” (will skip automatically to the current day on the calendar)
- “Calendar icon” (Select a specific date you want to jump)
- Staff (filter for specific users)
- Projects (filter for specific projects)
- Skills (filter for specific staff skills)
Time Tickets
A time ticket is allocated time for a task on the scheduler. One task can have several time tickets, but one time ticket can be for one task only. Further, a time ticket have to be always assigned to a staff member on the scheduler.
Creating Time Ticket
There’re two ways to create a time ticket on the scheduler. First, you can drag and drop a task from the project list into the the scheduler.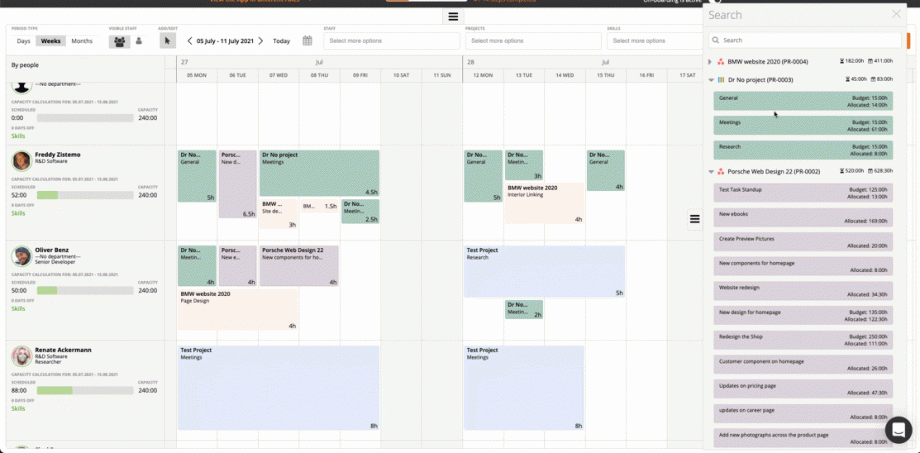
Second, you can just click on any cell to create a new time ticket. It assigns automatically the user to the time ticket on the row you clicked. Don’t forget to select a project and a task for this time ticket.
Managing Time Ticket
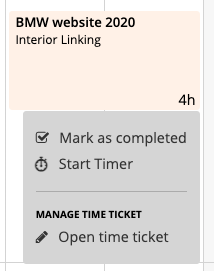
If you click on a time time ticket you see a drop down where you can select quick actions to the time ticket. You can mark the time ticket, start the timer for that task or open the time ticket.
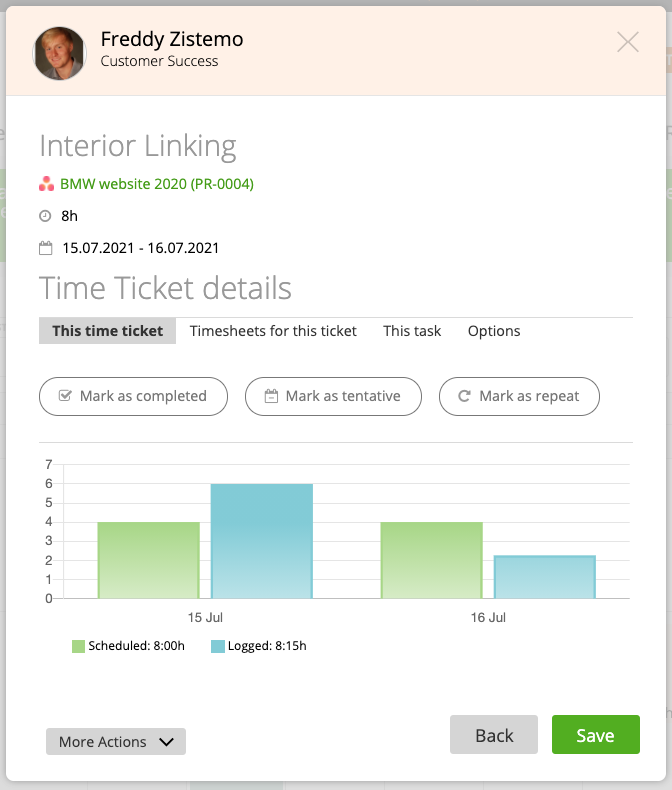
If you open the time ticket you see all the details of the time ticket. You see
- Username and User position
- Task name
- Project name
- Total Duration in hours
- Start/End date
Beneath, you find the sub-menu, by default you’ll the time ticket details where you can apply actions to it.
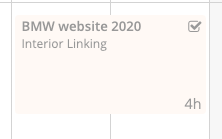
Mark as completed: If a time ticket is completed it is done. You won’t see it any longer in your scheduled task list (on the timer or browser extension) but you can still add time records to it or start the timer in the scheduler for this time ticket. On the scheduler itself you see a completed time ticket as shown below:
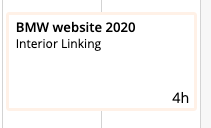
Mark as tentative: If a time ticket is marked as tentative that means that you (or the project manager) can’t plan this time ticket fix yet. Assigned users of a tentative time ticket can’t see it in their scheduler or on the scheduled task list. A tentative time ticket will be show as follows:
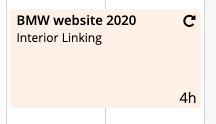
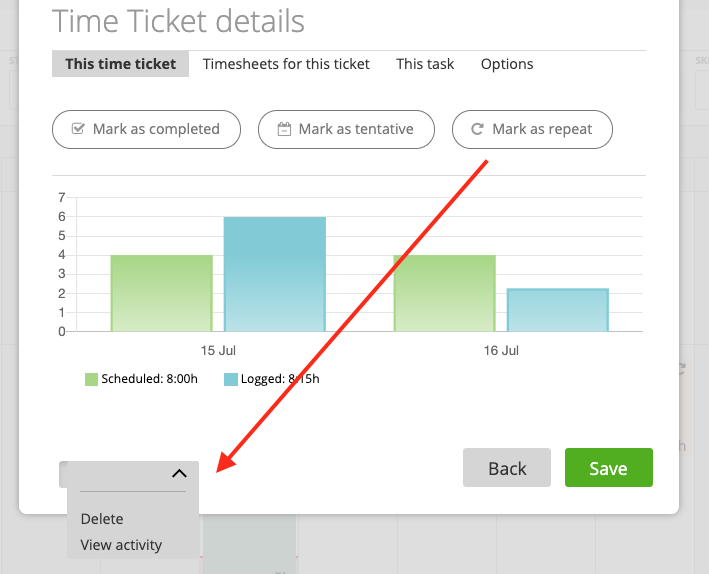
Mark as repeat: A time ticket can repeat on weekly or monthly basis. Further, you can set up the end date of the repetition.
Repeating time tickets are shown on the scheduler as follows:
More Actions/Time Ticket History
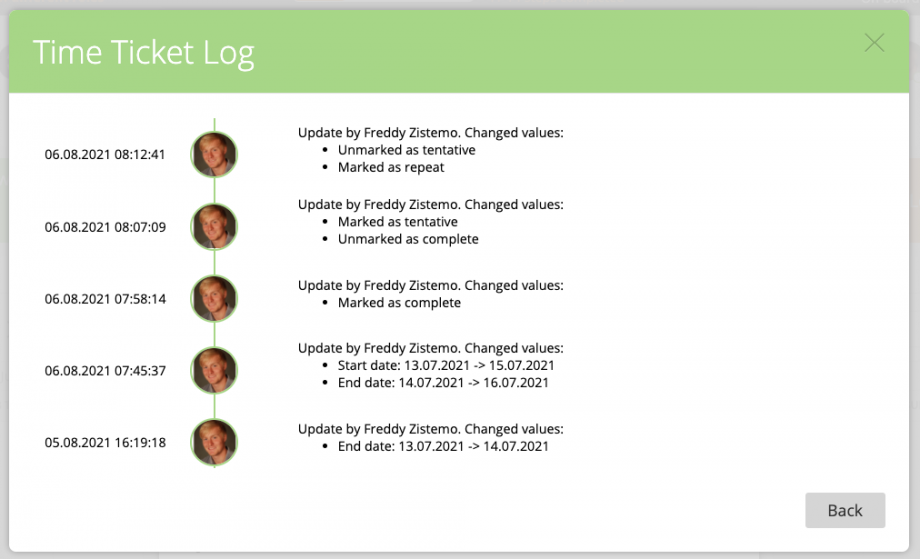
On more actions you can delete a time and view it’s history.
In the Time Ticket Log you can see
- who created the time ticket
- who marked/unmarked it as complete, tentative or as repeat
- who changed hours per day
- who changed start/end date
- who changed assignee
Timesheets for this ticket
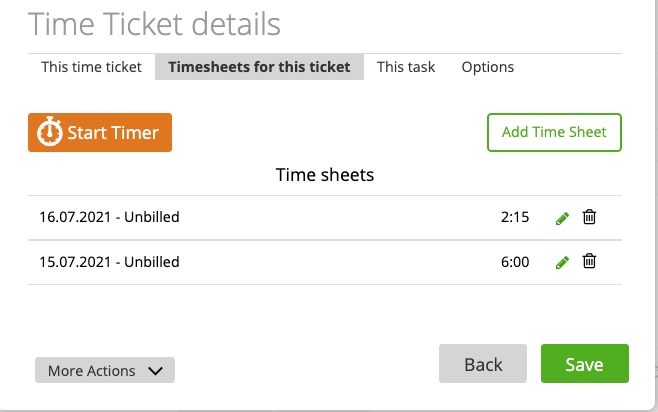
On “Timesheets for this ticket” you can add/edit/delete timesheets that have a connection to this time ticket.
A timesheet is connected to a time ticket if you
- add a timesheet from a time ticket (like on image above)
- start the timer from the ticket (like on image above)
- start the timer for a scheduled tasks (scheduled task list)
You can see that a timesheet is connected to a time ticket if you are on the weekly/monthly time sheet by the chain icon. By clicking on the chain icon you can disconnect a time sheet from the time ticket.

Only if a timesheet is connected to a time ticket you’ll see it in the time ticket details graph as logged hours!
This Task/Options
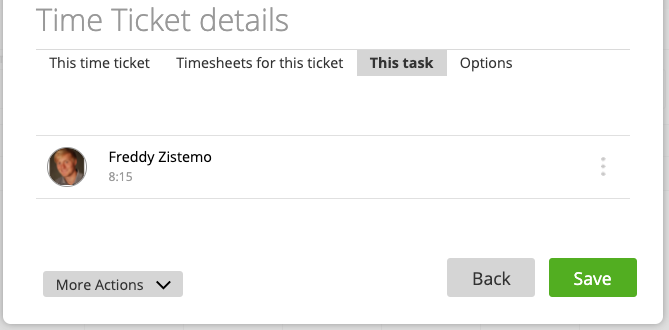
On “This Task” you can see al timesheet from the user for the task that the time ticket is connected to.
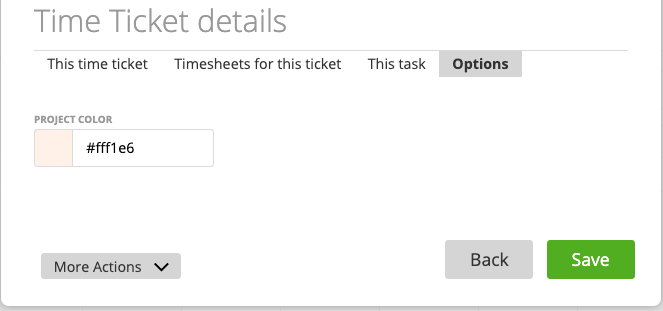
On the Options tab you can edit the project color that is used in the scheduler for the time tickets of that project.
Users’s View on the Scheduler
Different user roles have different views for the scheduler. In the following you’ll get details which user roles can see what information. The idea is that the scheduler is a planing tool for project managers, so everything is optimized for project managers.
- Account Owner/Admins see all users, all projects and all tasks
- Data Captures can view only themself and time tickets assigned to them
- Team Members can view only themself and time tickets assigned to them
- By default, team members can be only project members. As projects members they see only their own time tickets and they can’t plan any time tickets on the scheduler
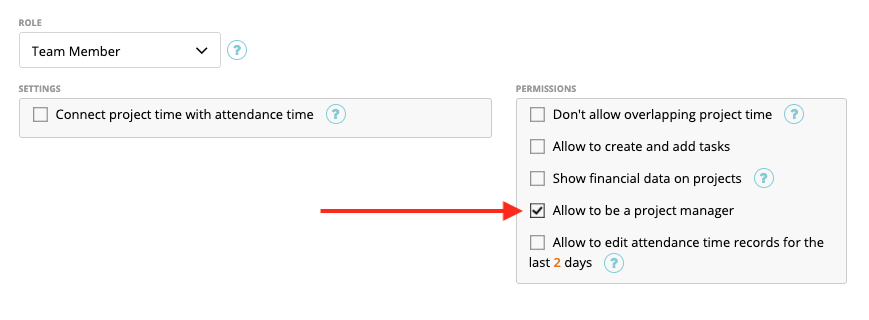
- “Allow to be project manager”: If you allow team members to be project manager they can view all staff and can schedule time tickets for the projects where they’re project manager
- Team Leaders can view all staff and can schedule time tickets for the project where they’re project manager. For projects where they’re project member they can read time tickets only


