Here’s how to work with the new templates and how to customize them. Let’s start with:
1. How to change the logo
We are supporting now uploaded images and we use them for the new template logos. Now let’s see how you can use a different logo on the Following pages and on the Last page. As default, we show the “company logo” on your choosen invoice template. More infos on “how to change” the “company logo” you can find HERE.
First, upload your logo (or 2 logos) to your document space. Give them a suggestive name so you can easily find them later on (e.g. main big logo & small logo).
[extra tip: Here’s all the info you need to upload files to your company document space.]
In order to change the logo on your own copy of New Template, go to the Single page and hover over the logo.
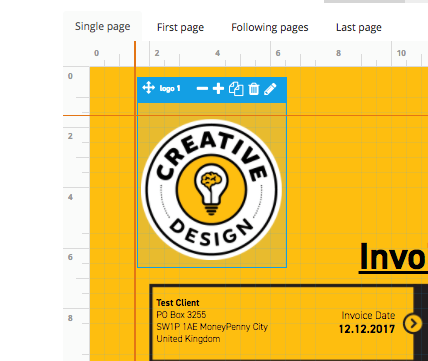
The placeholder window appears and a menu in the window’s header. Click on the pencil icon to edit the placeholder window. (Learn more about the window header icons).
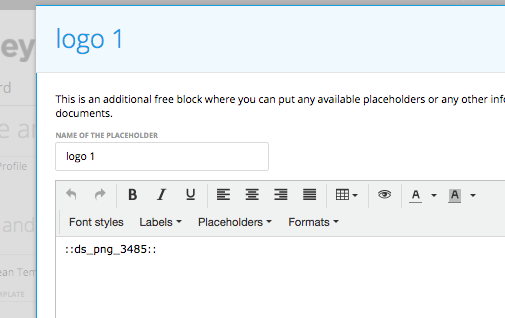
Delete the old placeholder in the editor and open the Placeholder menu, go to “Document space images” and a second drop-down opens with all your uploaded files.
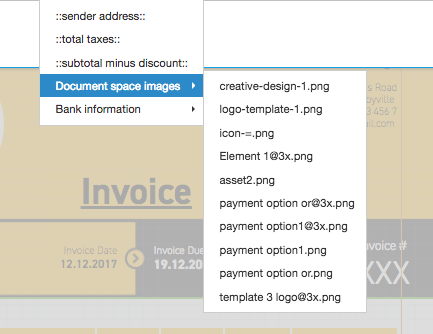
Search for your file name (that’s why a good file name is important) and click on it.
Now back to the editor window, we insert a cryptic name as a placeholder for your selected logo file. The cryptic name is to avoid problems with special characters in the file names on the server.
That’s it! Well done! Congrats. Of course, you can add some text below or above it if you want (read more about this). Perfect! Now your logo is in the template.
2. How to change the logo size and position?
Hover over the logo until edit window shows up. Click on its header and keep the mouse button pressed while dragging the window around to the right place on the template and drop it there.
Note: As default, we show the “company logo” on your choosen template. Changing the size for “company logo” is not possible. Therefore you need to use a new image placeholder – as described above
To resize, click on the right or left border of the window, keep the mouse button pressed while moving it to the right (for a bigger size) or to the left (smaller size).
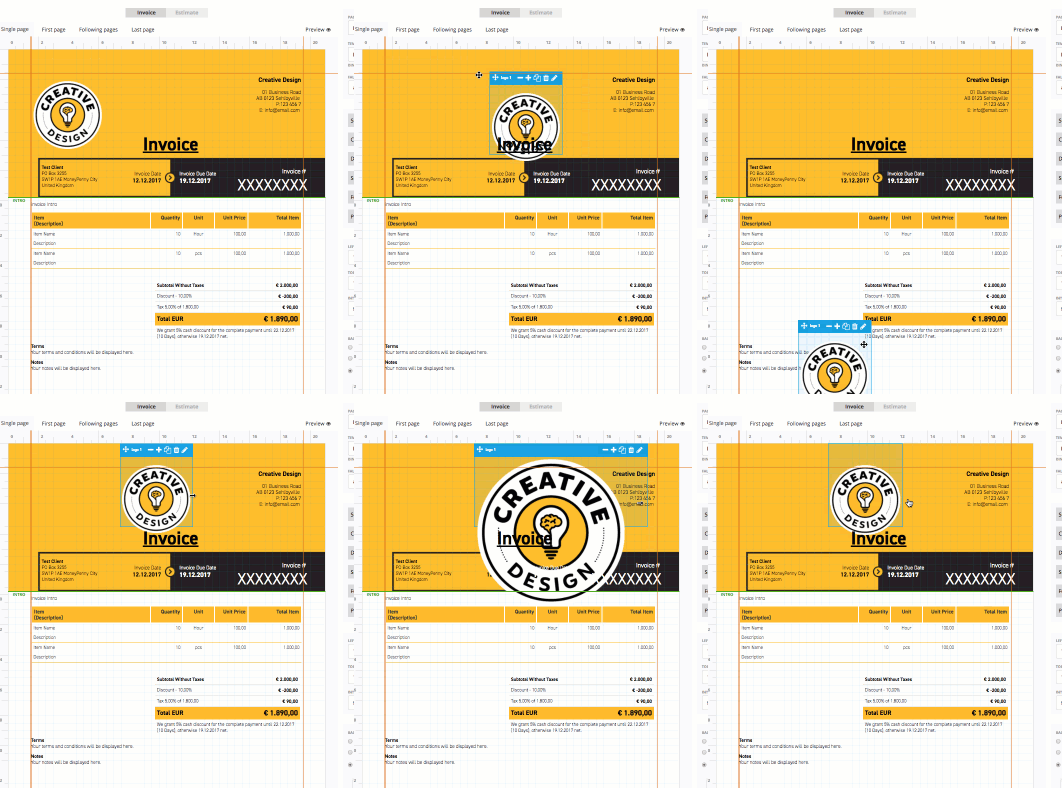
Perfect!
Now what can you do if the old logo is still featured on the first page and the windows are not in the same position?
Step 1. Delete the old window on the first page.
Step 2. Go back to the single page, hover over the logo window and click on the copy icon (two sheets).
Step 3. A menu opens and asks you where to copy this window. If there is still a window with the same name as the original window on the target page, then you wouldn’t see your expected target page. As an example, if you didn’t delete the other logo on the first page then you don’t see the “first page” on the menu.
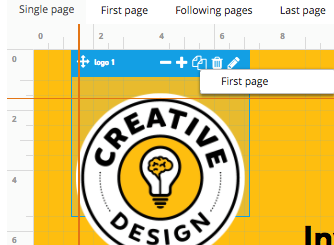
So, make sure you deleted the window on the First page, click on the copy icon on the origin window header and select the First page.
And so the magic begins… we copy the window – moving to the “First Page” – past the window on exact the same position as on the original page.
Voila, here we go! You made it. Do the same with the smaller logo on the following pages and last page or… delete them and use the same logo as on the single page.
Now you know how to copy it from the single or first page to the last page.
