How to create an invoice?
View or edit an invoice
Change Pay Terms
Invoice data – description
Create products through invoice
Invoice numbering. Can I re-use an old invoice number?
How to create an invoice?
To create a new invoice go to Sales ➝ Invoices ➝ Create Invoice ➝ fill fields ➝ click “Preview” or “Activate and Send”:
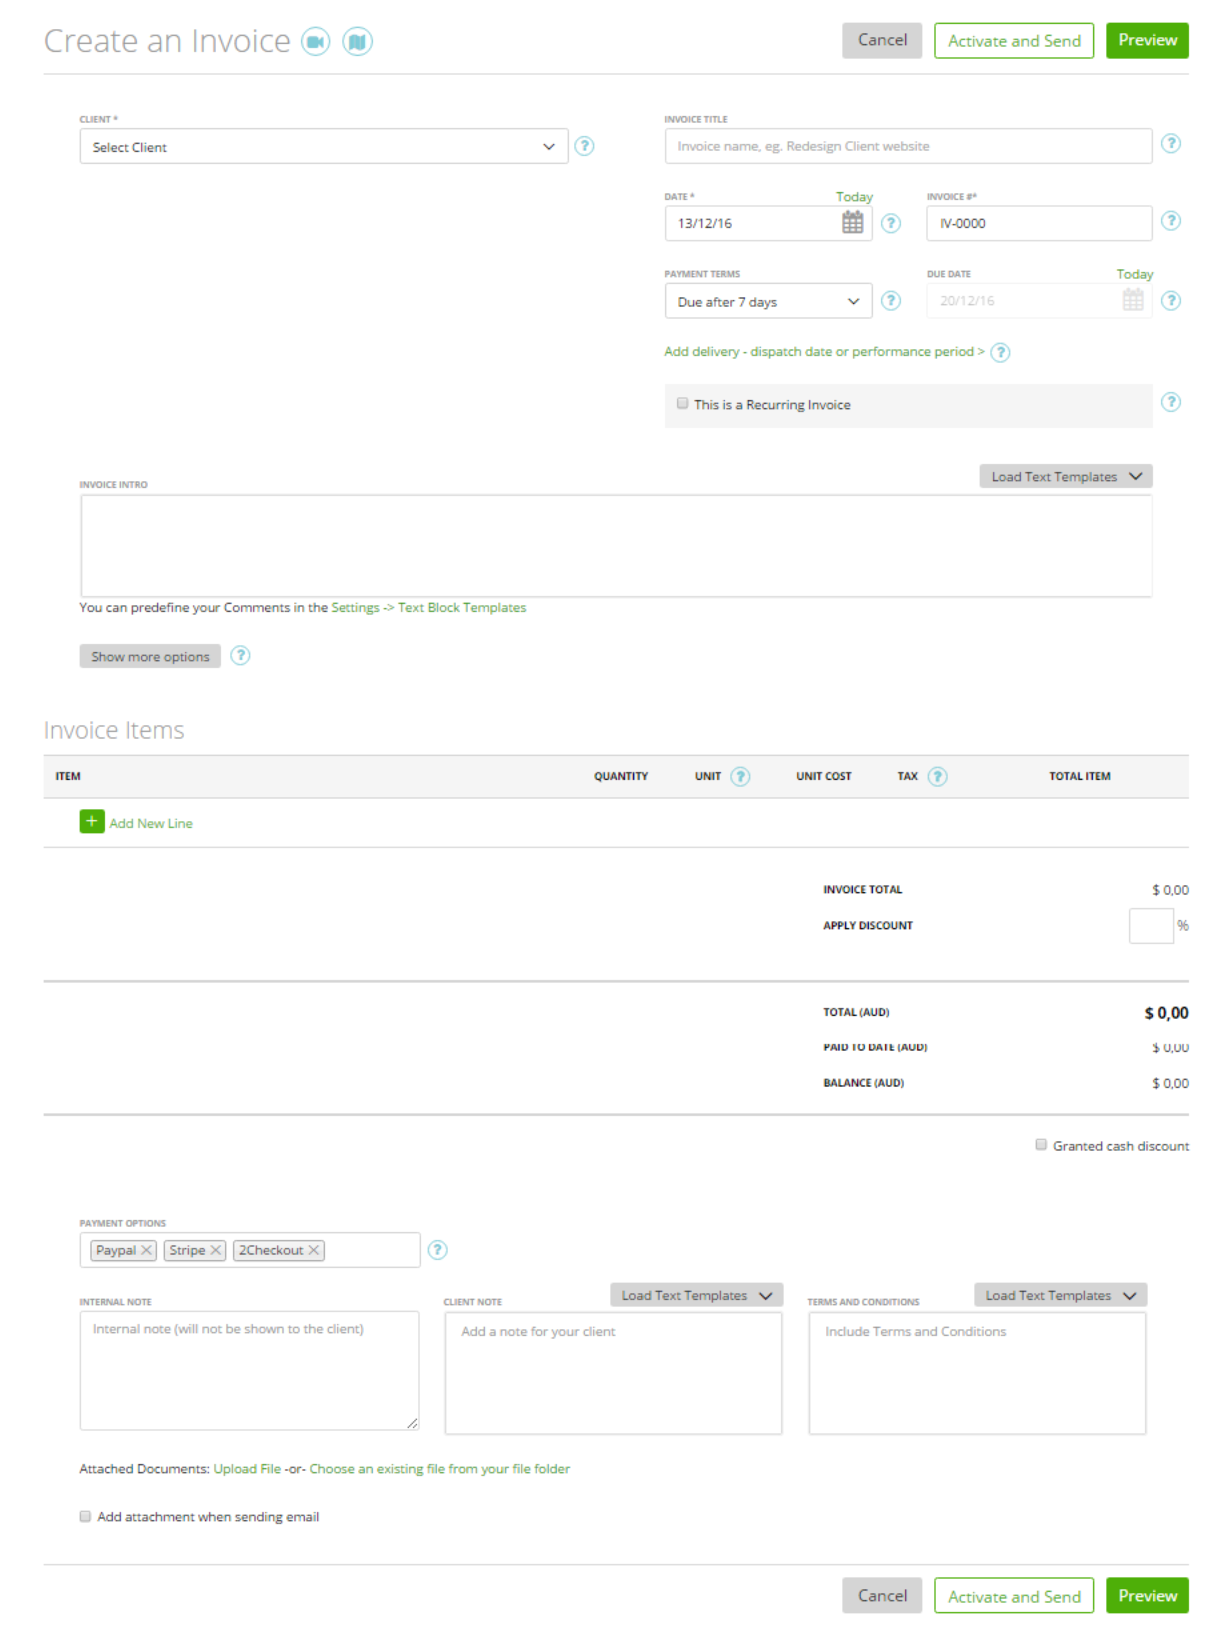
You can also find the ‘Create new Invoice’ feature in the Quick Toolbox:

View or edit an invoice
You can view an invoice by clicking on its name on the grid (Sales ➝ Invoices).
This will show you how the invoice will be seen by your clients and how it will look if printed.
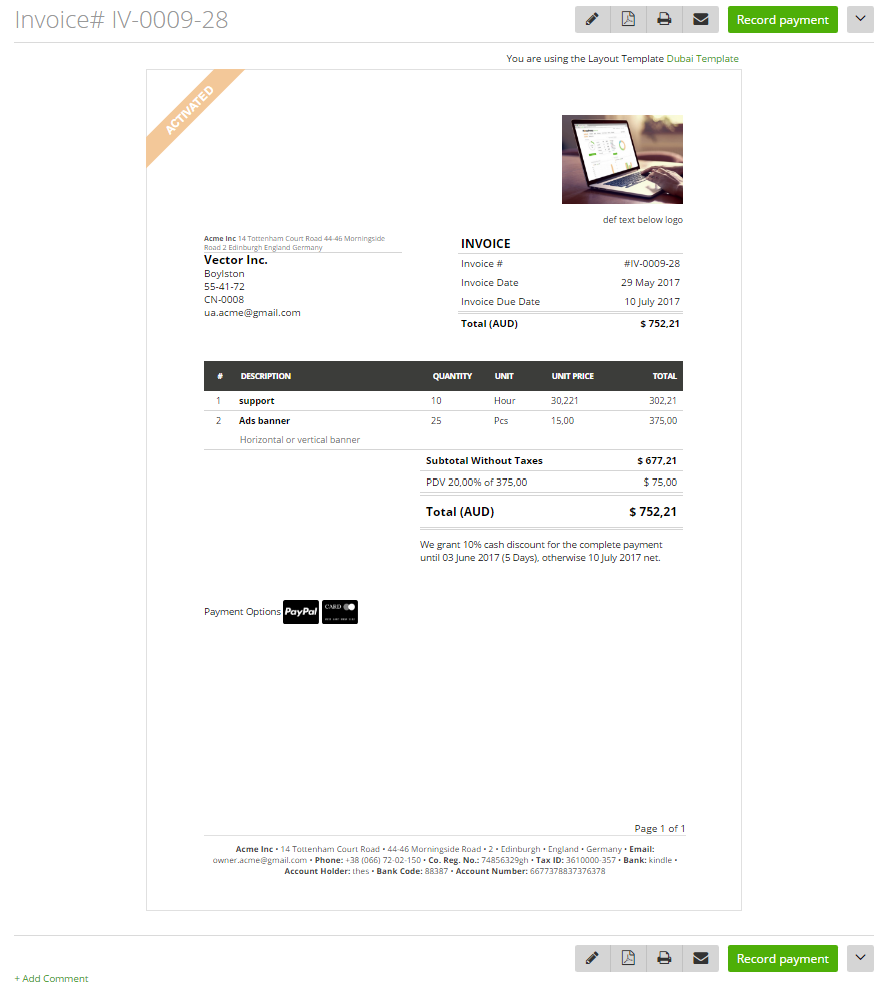
To edit an invoice click on the pencil icon on the invoice preview or open the ‘Edit’ link from the row end menu on the grid.
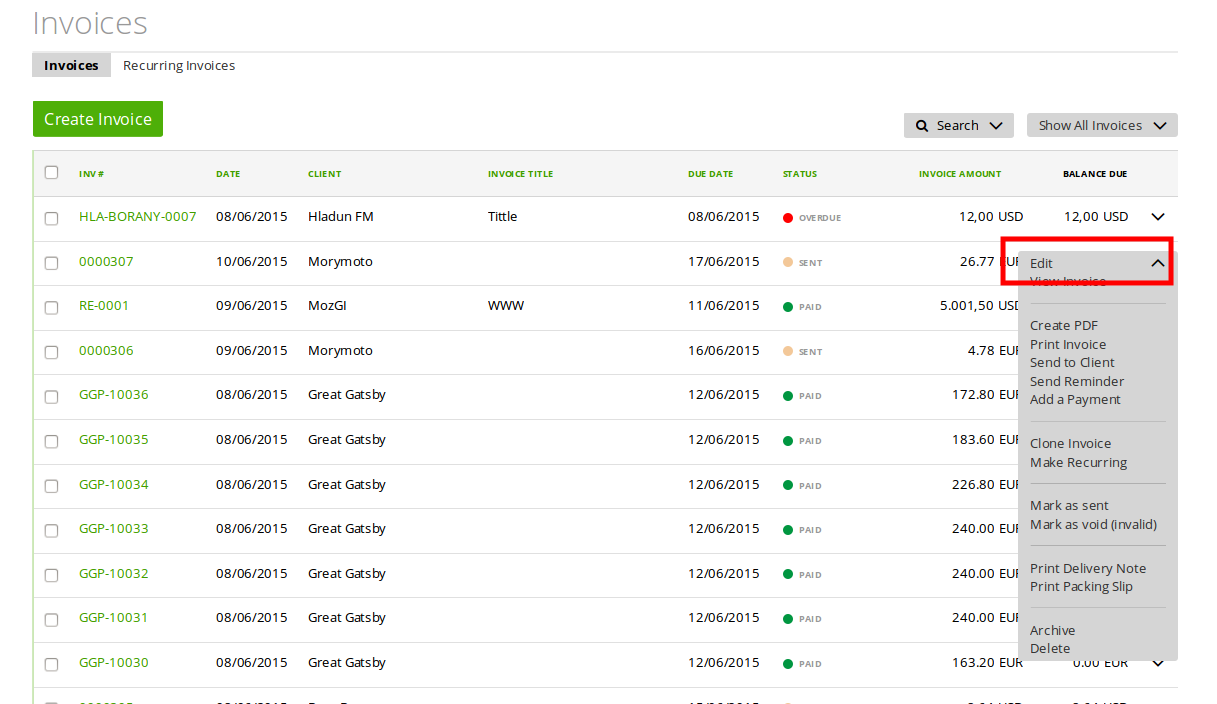
All invoices apart from those marked as ‘paid’ or ‘void’ or ‘canceled’ can be edited.
Invoice data – description
When you open an invoice page – you will see the following data and customization:
– Invoice title – this can just be an internal note on the invoice and will only be displayed on the invoice grid.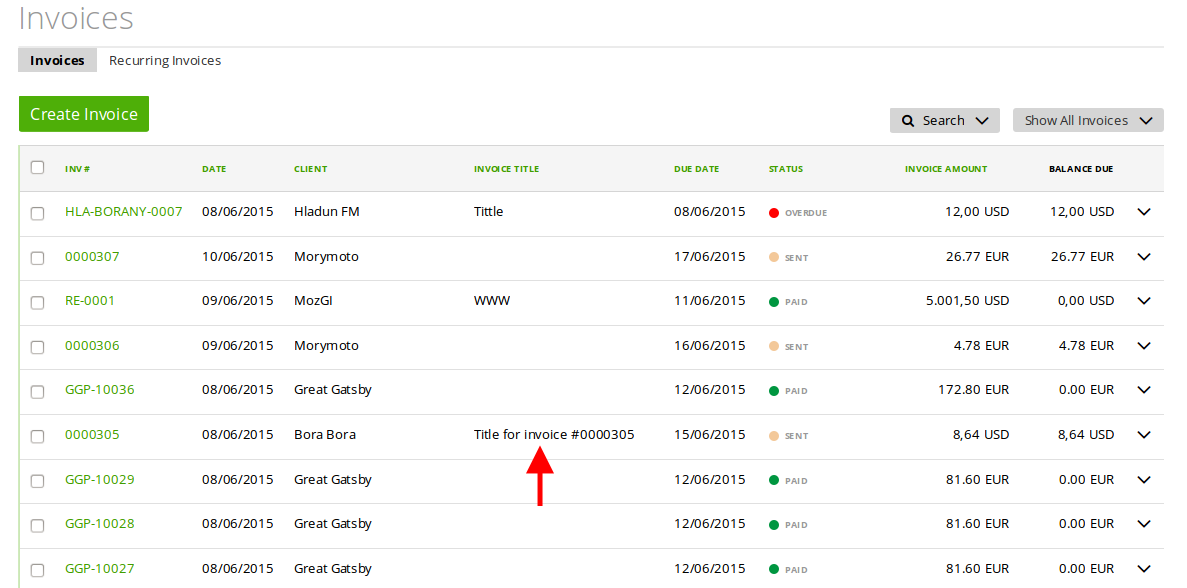
Or, it can be used as text under the invoice name on invoice preview.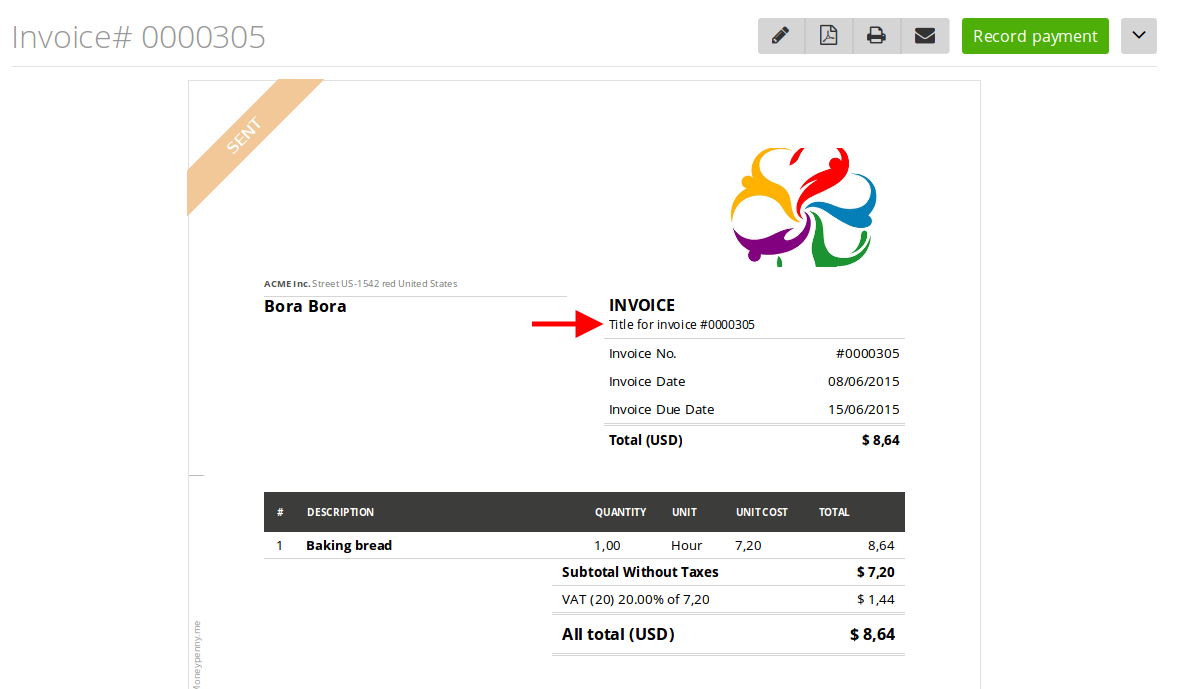
To include it in the invoice preview go to Settings ➝ Preferences ➝ Invoices & Estimates ➝ check the checkbox “Show invoice/estimate title in preview” (more here).
– Client contact – here you can choose contacts of your client who will receive this invoice. If you will not choose anyone – only the primary contact will receive the invoice.

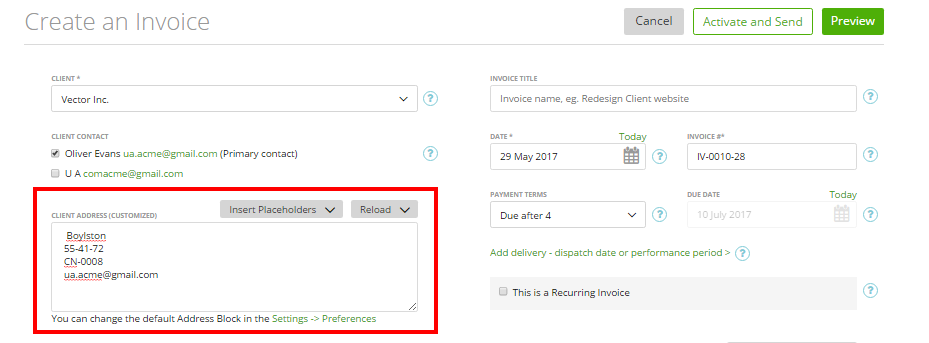
– Client address – you can change the billing address of your client by overwriting it.
Note: If on the client page -> address the checkbox ‘same as billing address’ is checked
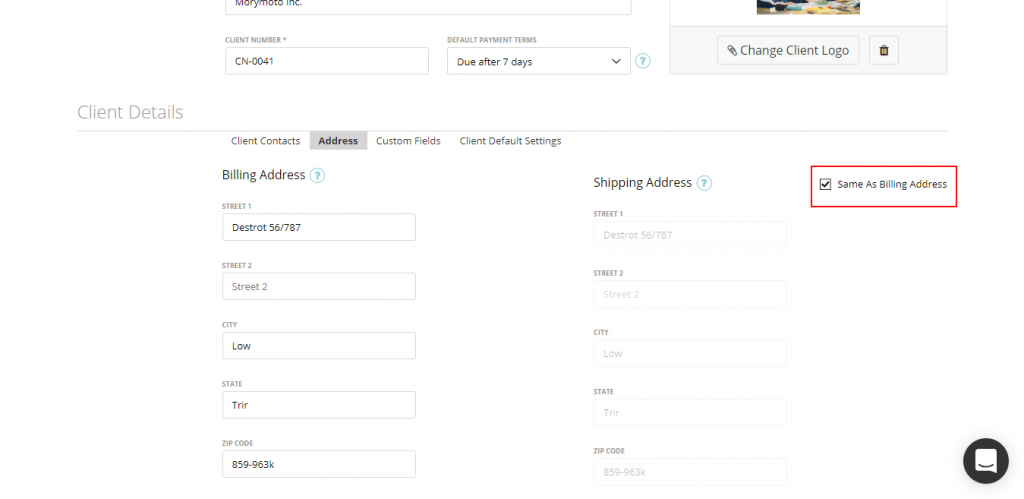 then for the Delivery Note and Packing Slip we print the client’s address as on the Invoice preview:
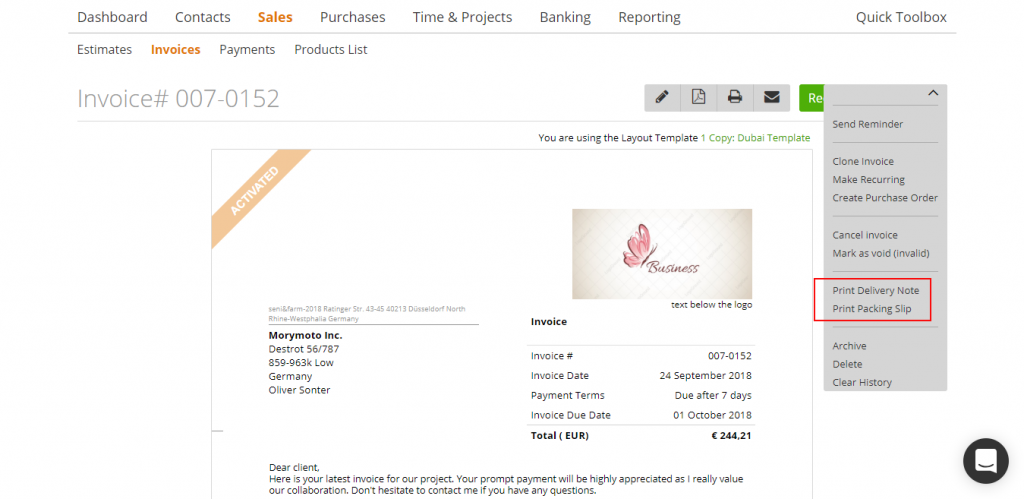
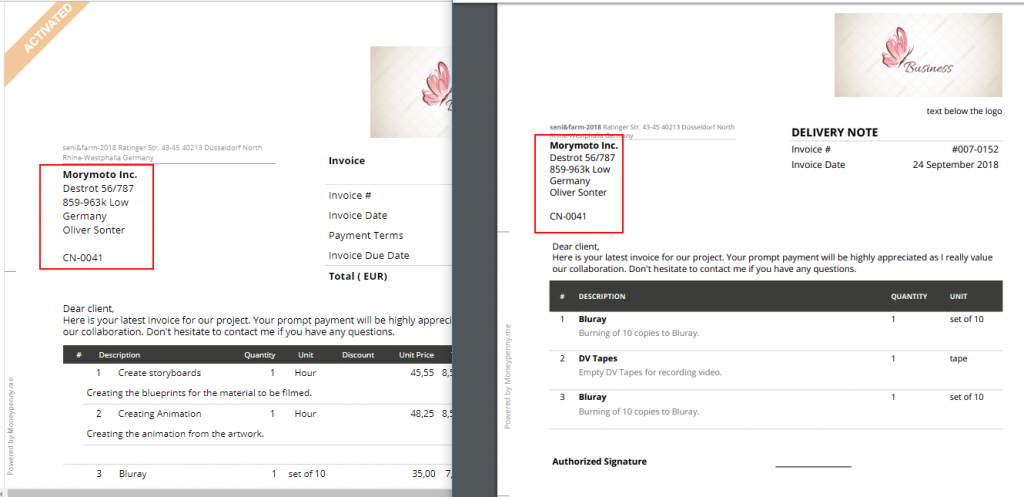
– Payment terms – this is the term allowed for paying the invoice. After this period the invoice becomes overdue.

Note: You can change the Payment Terms by adding the new one as described in this video:
– More options:
language – this is the language of the invoice
currency – the currency the invoice amount will be displayed in
– Invoice items – this is the body of the invoice. You can choose tasks and items that need to be paid.

– Payment options – you can choose available online payment methods. To activate go to, Settings ➝ Payment Integration.
– Notes:
‘internal note’ – these will on be visible on the update estimate page.
‘client note’, ‘terms and conditions’ – these will be displayed on the estimate preview.
Create products through invoice
When you create an invoice you can choose its items from an existing product list or create new products.
You can also create a temporary product (related only to this invoice) or new point on the product list.
To create a temporary item – enter its data manually to the related fields

If you would like to save this item to the existing products list – open the row end menu and click ‘Save Product’.

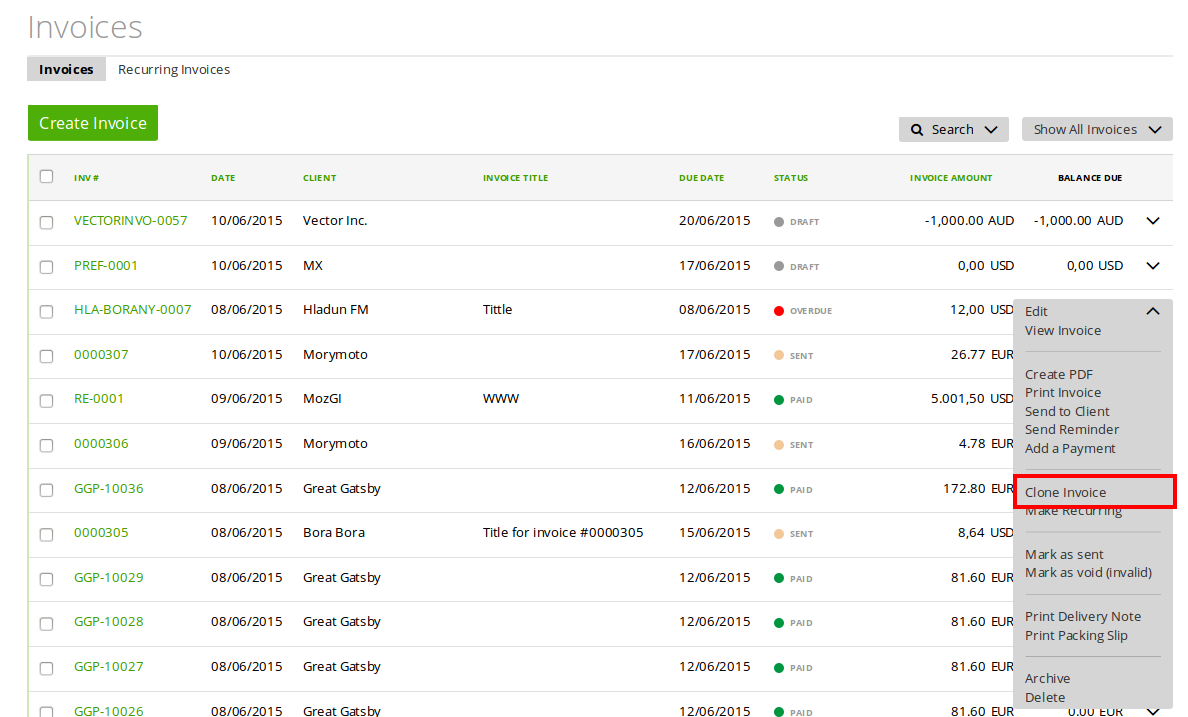
I want to re-use an invoice for a new client. Can I duplicate/copy invoices?
Yes. You don’t need to manually duplicate your existing invoice.
Simply choose the required invoice and click ‘Clone Invoice’ on the row end menu.
