When creating a project on zistemo you could either create a blank project or using a template. In this article we look into how to create a blank project. Read this if you want to know more about project templates ➜
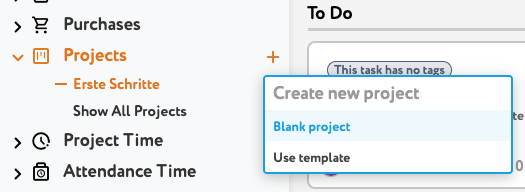
To create a blank project you could either click on the “+” icon on your menu…
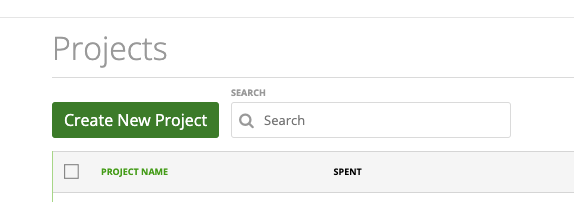
…or on the project grid “create new project”
Project Settings
When creating a blank project you need to enter the project settings.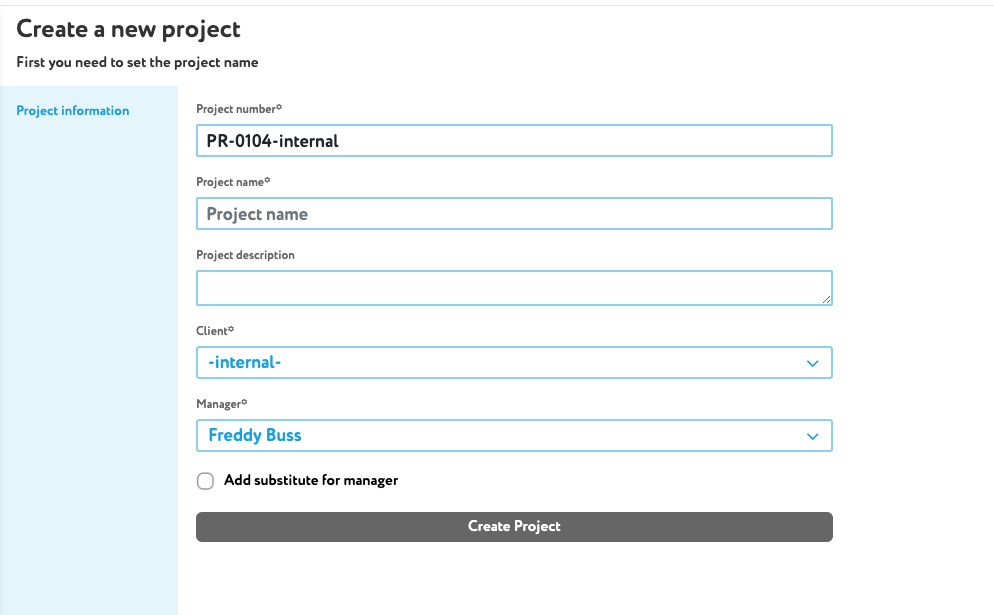
Automatically, it generates a project number. You can change it and you could also edit the default number groups for project. More here ➜
Also, you need to add project name and you could add a internal project description. Further, you need to pick a client. A project could be internal or for one client. Internal project cannot be invoiced. At last, add the repsonsible manager to the project. You could also add a substitute for the project manager.
You can change this data anytime in the project informations.
Project Options
On the project options you can make settings for communication and invoicing.
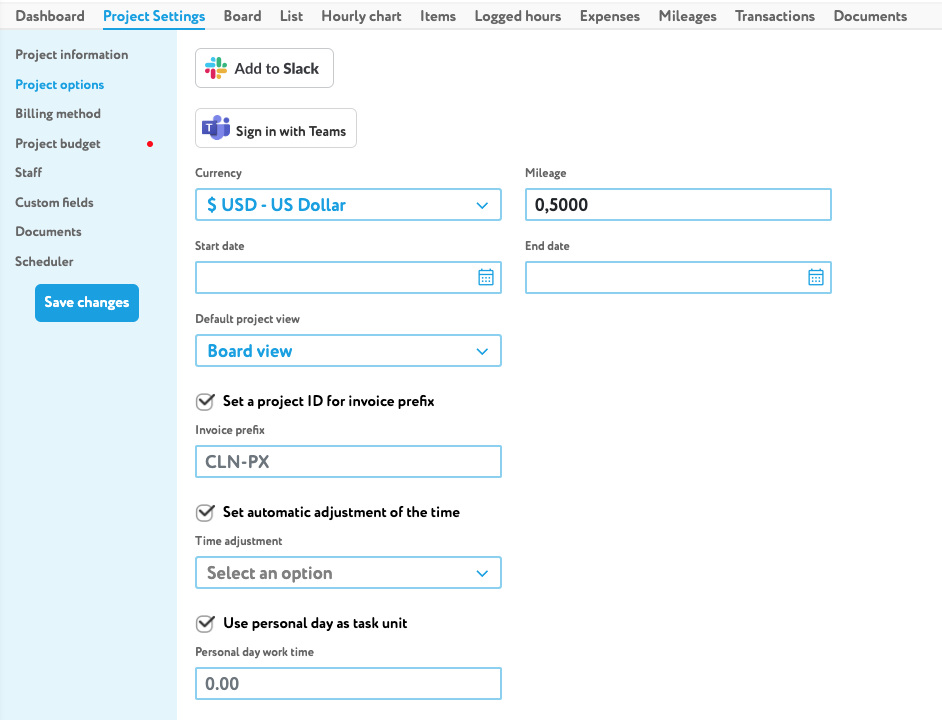
You can add this project to a slack or Microsoft Teams channel.
Further, you can set the project currency, default mileage rate, start and end date. Additionally, you can set the default view of your project either to board or list view
Regarding invoicing, you could set a prefix for the project’s invoices similar to client’s invoice prefix.
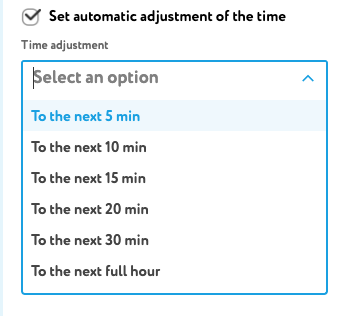
You could also enable to automatically round time records made with the time.
By default the unit in invoices for projects would be “hours”. However, you could also use “days” as unit. When using personal day as task unit you could set up how many hours equals one personal day. E.g. if you type it 8:00 hours equals a personal day and you’d tracked 16:00 hours to a task on the invoice you’d see 2 days.
Staff
You could add staff one by one, choosing departments or adding all staff members to a project.
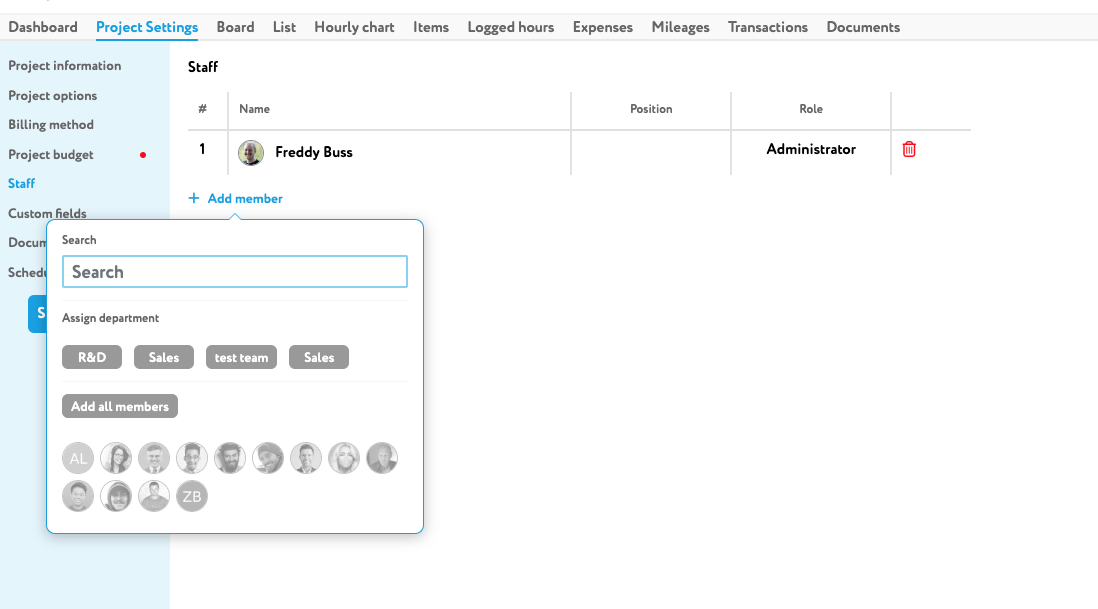
Please note that staff added to the project is not automatically assigned to any task. However, if there’re task on the project you could either assign a person to all tasks or remove the person from all tasks with one click
Learn more about assign staff directly on a task ➜
That might be also helpful