How to create a Retainer?
Create a Retainer out of an Estimate
Retainer data – description
Why do you need a Retainer? The benefit of a Retainer is that the client pays in advance for products or services to be specified later. In other words, a Retainer is a payment guarantee for future products, services to be rendered.
How to create a Retainer?
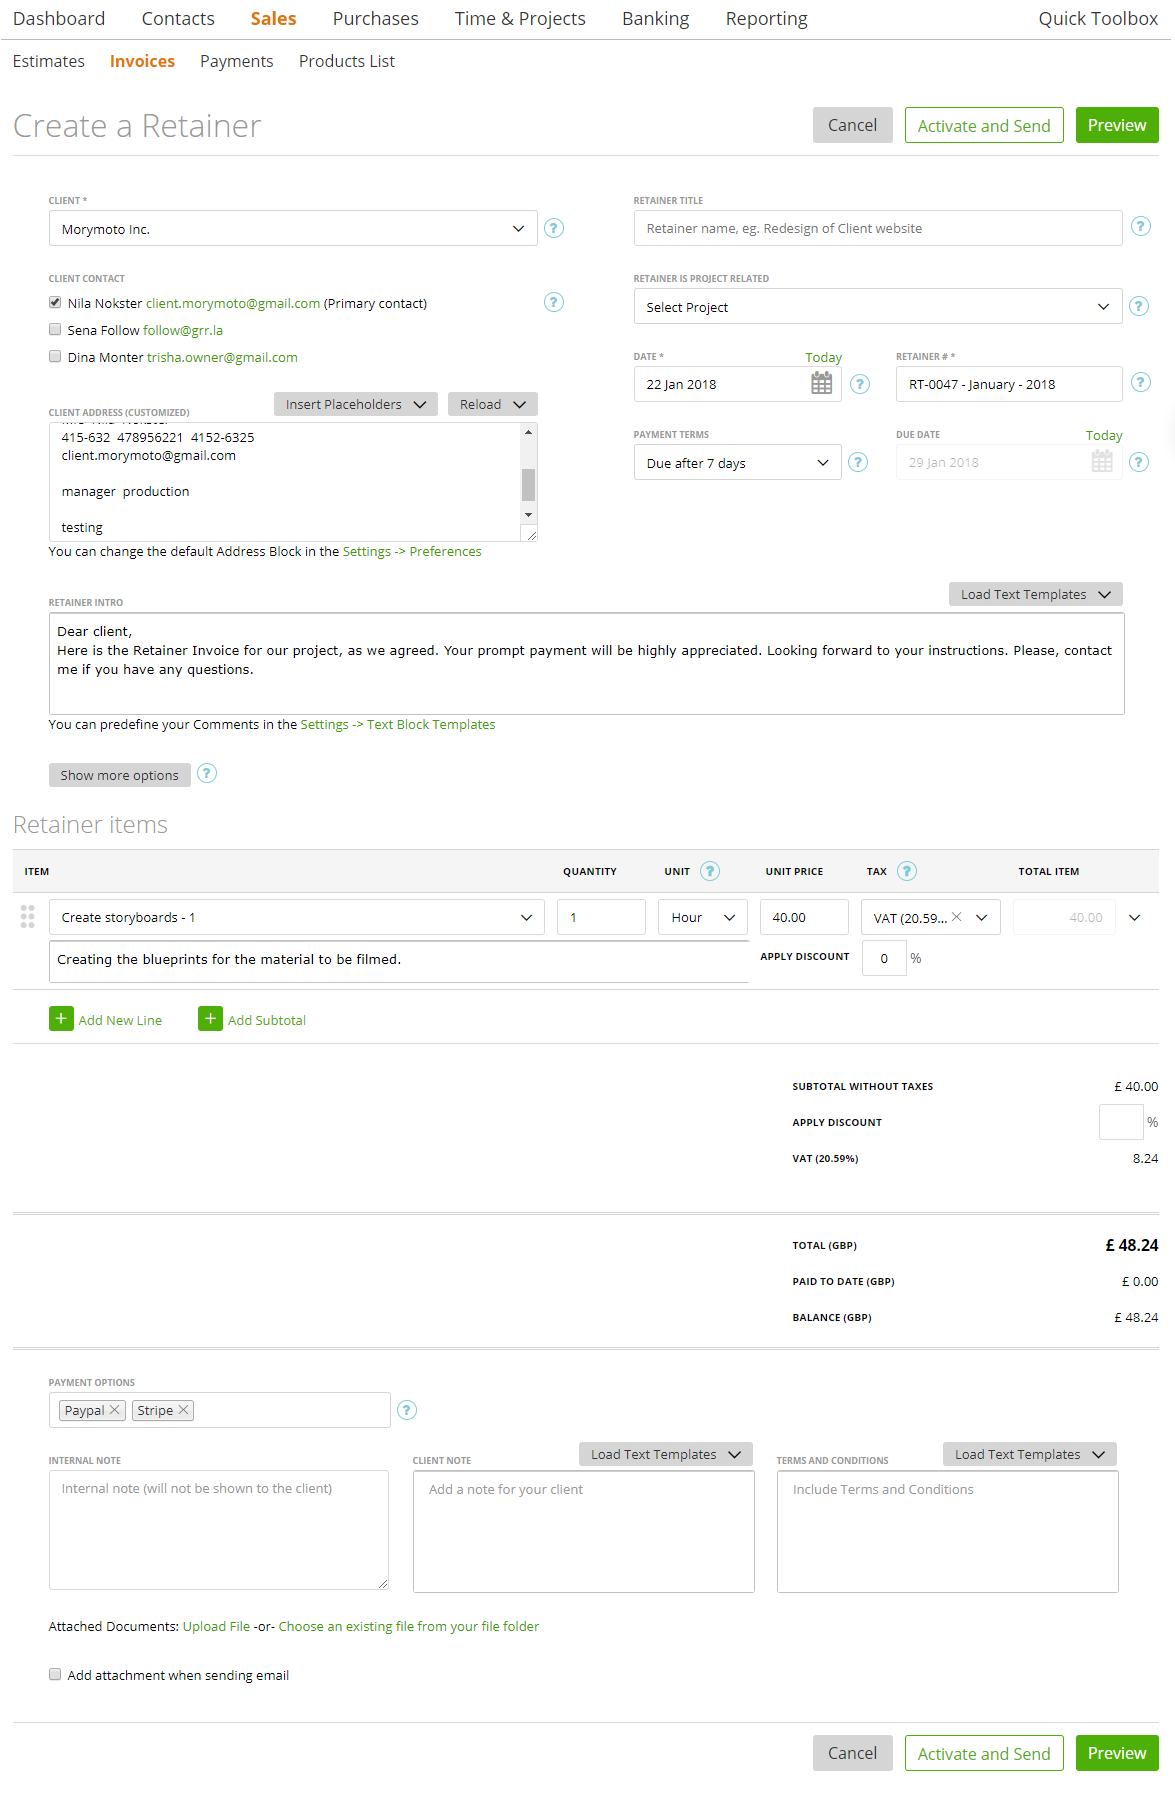
To create a Retainer, go to Sales -> Invoices -> Retainers -> Create a Retainer -> Fill required fields -> Click ‘Preview’ or ‘Activate and Send’:
How to create a Retainer?
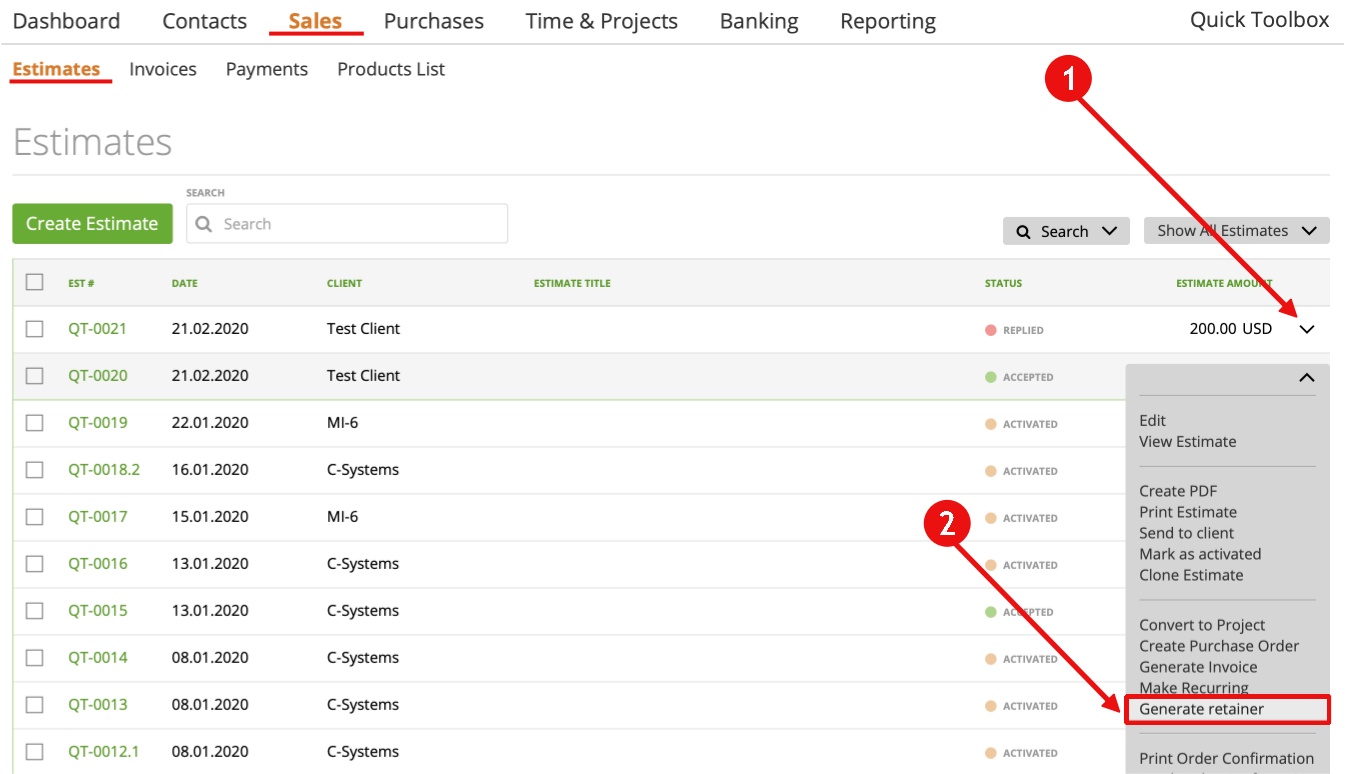
You can also create a retainer out of an estimate. Just click the Dropdown besides the estimate, where you want to create a retainer out of it and press “generate retainer”:
Afterwards you fill out the required fields -> Click ‘Preview’ or ‘Activate and Send’ the retainer.
Retainer data – description
When you open a Retainer page, you will see the following data and customization details:
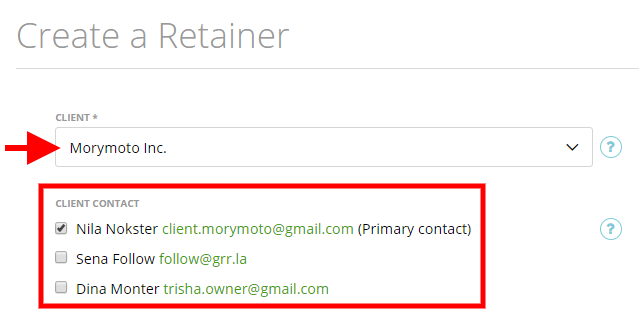
– Client Contact – here you can choose your client’s contacts who will receive this Retainer.
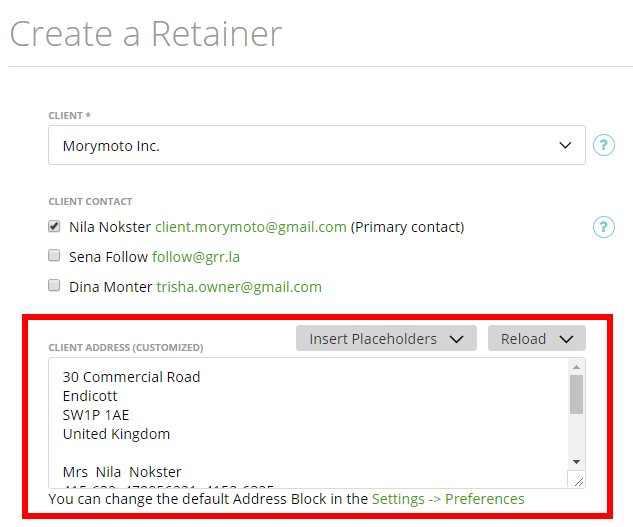
– Client address – you can change the billing address of your client by overwriting it.
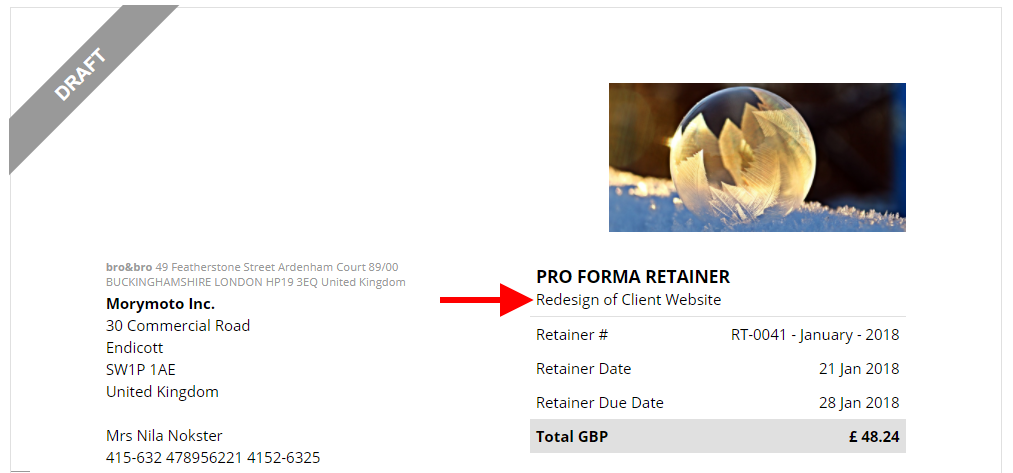
– Retainer Title – this can just be an internal note on the Retainer.

…Or it can be displayed as text under the Retainer name on Retainer preview.
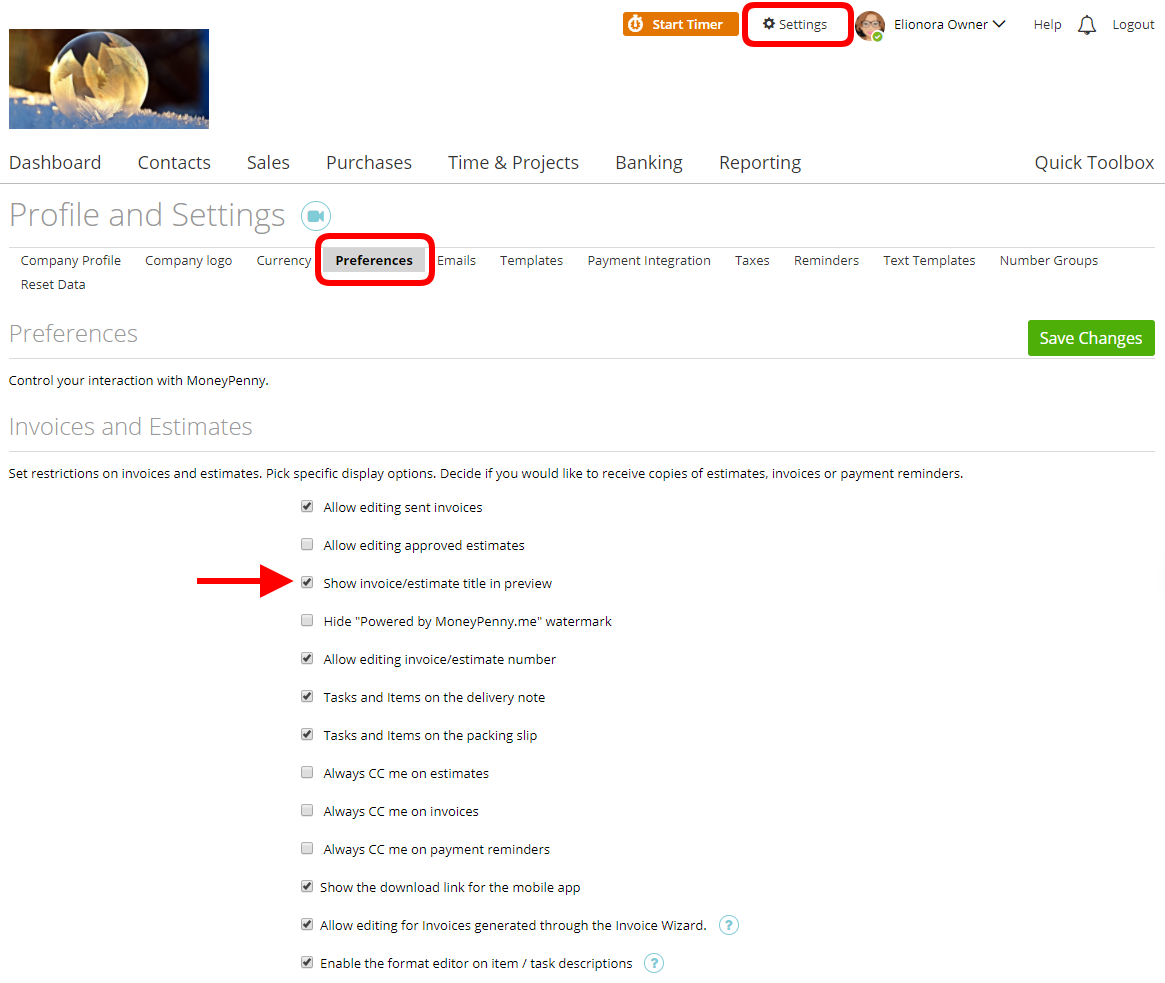
To include it in the Retainer preview go to, Settings -> Preferences -> Check the checkbox ‘Show invoice/estimate title in preview’.
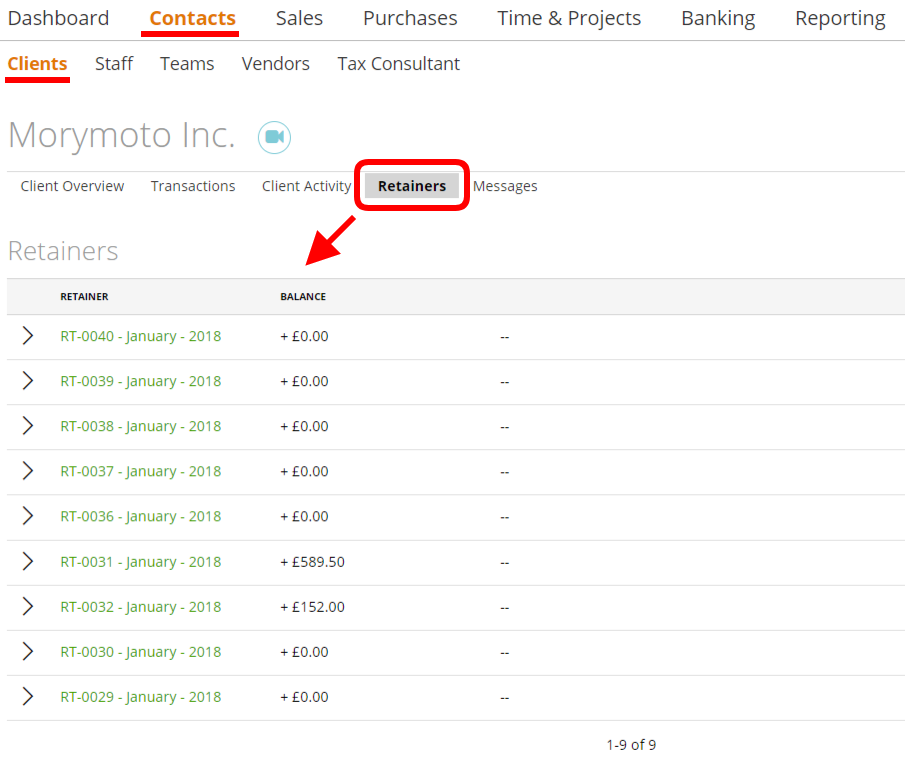
– A retainer is project related – here you can link the Retainer to a project. Also, you can review all the related Retainers on the Client Dashboard -> Retainers (there are Retainers related to the current client).
…and on the Project Dashboard -> Retainers (there are Retainers related only to the current project)
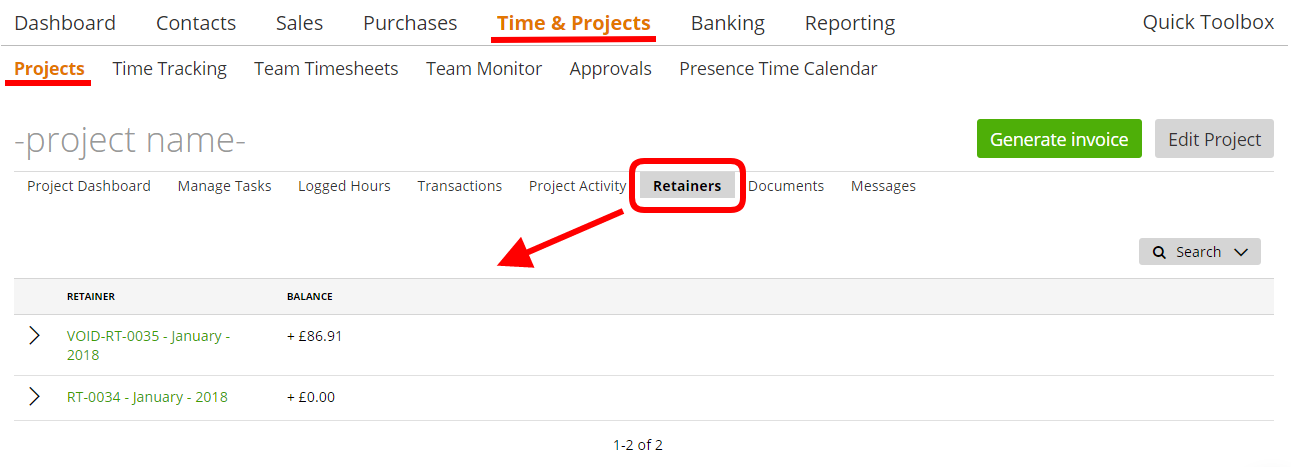
Note: if the project has custom fields, then you can see the project custom fields on the Retainer preview (in case you customized your own project custom fields on a template).
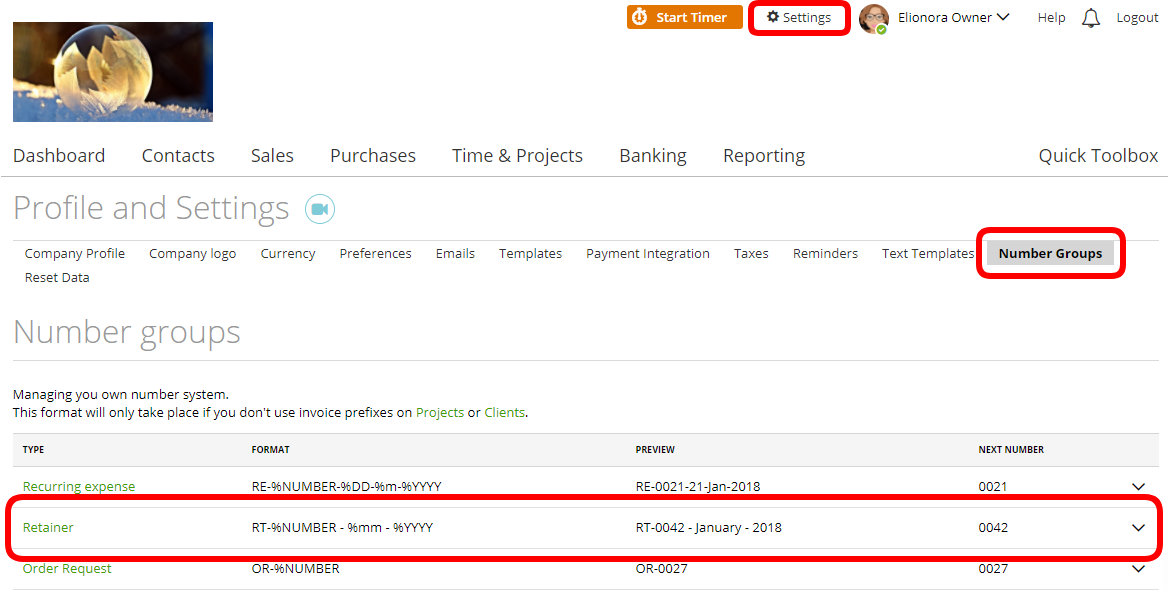
– Retainer Number – this is an automatically generated number. Of course, you can change the format of Retainer numbers. Simply go to Settings -> Number Groups.
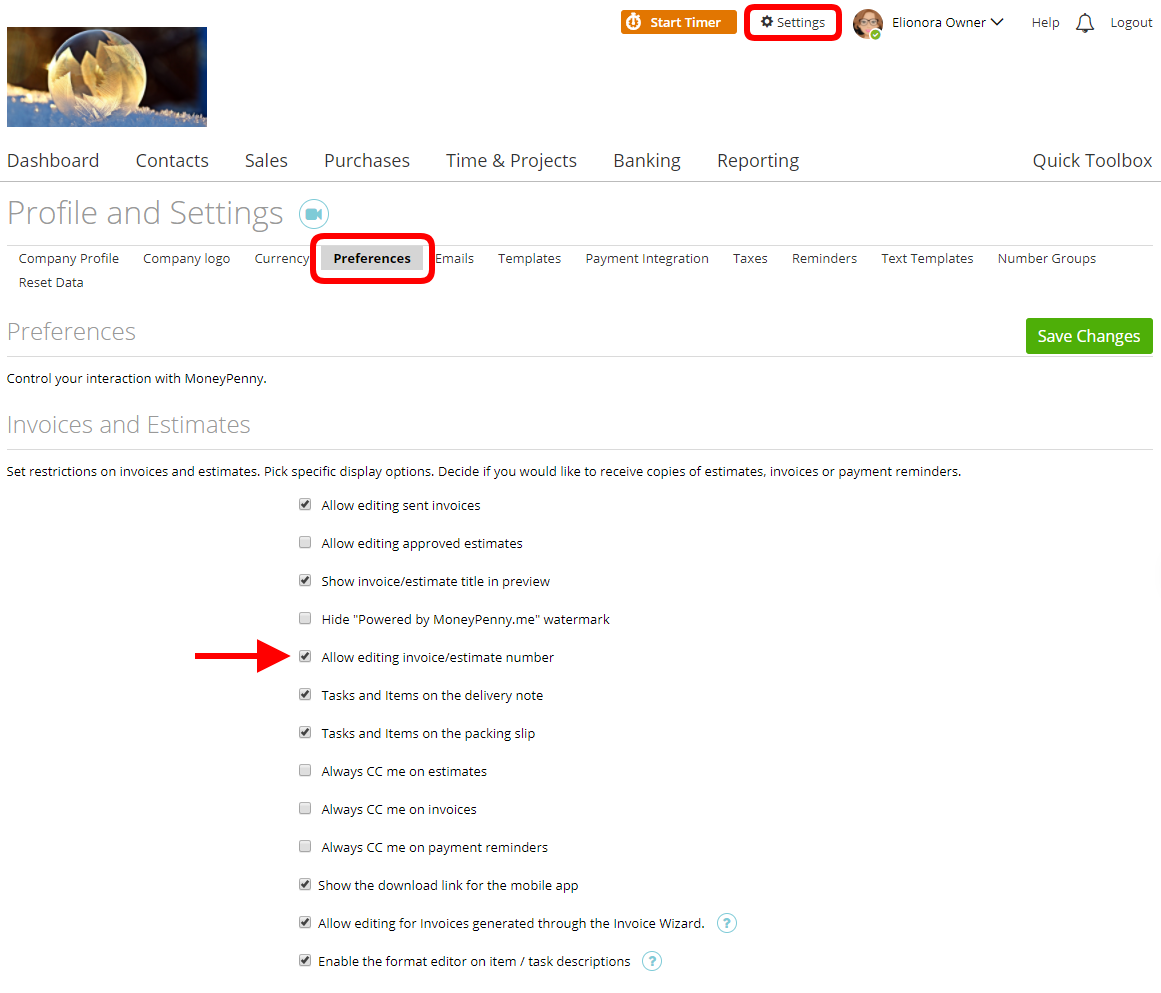
And you can overwrite it from Settings -> Preferences -> Check the ‘Allow editing invoice/estimate number’ box.
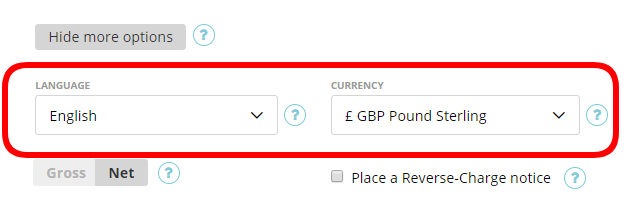
– More options:
– language – this is the language used on the Retainer
– currency – the currency used to express the Retainer’s amount
– Retainer items – this is the body of the Retainer where you can choose tasks and items that need to be paid.

…and if you wish to create an item – enter its data manually into the related fields and click ‘Save Product’:

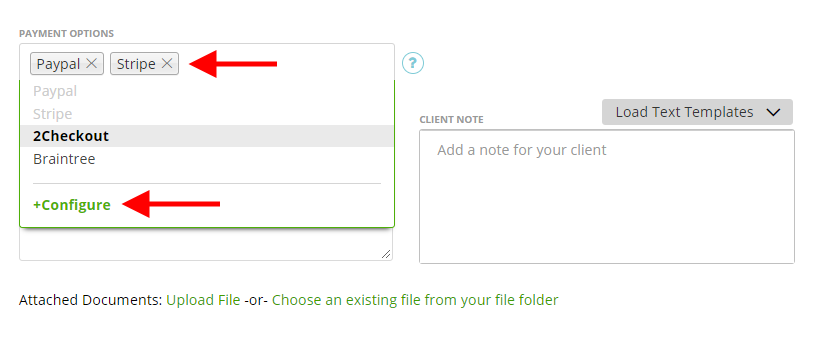
– Payment options – you can pick any of the available online payment methods or activate other methods directly on the Retainer page as shown below:
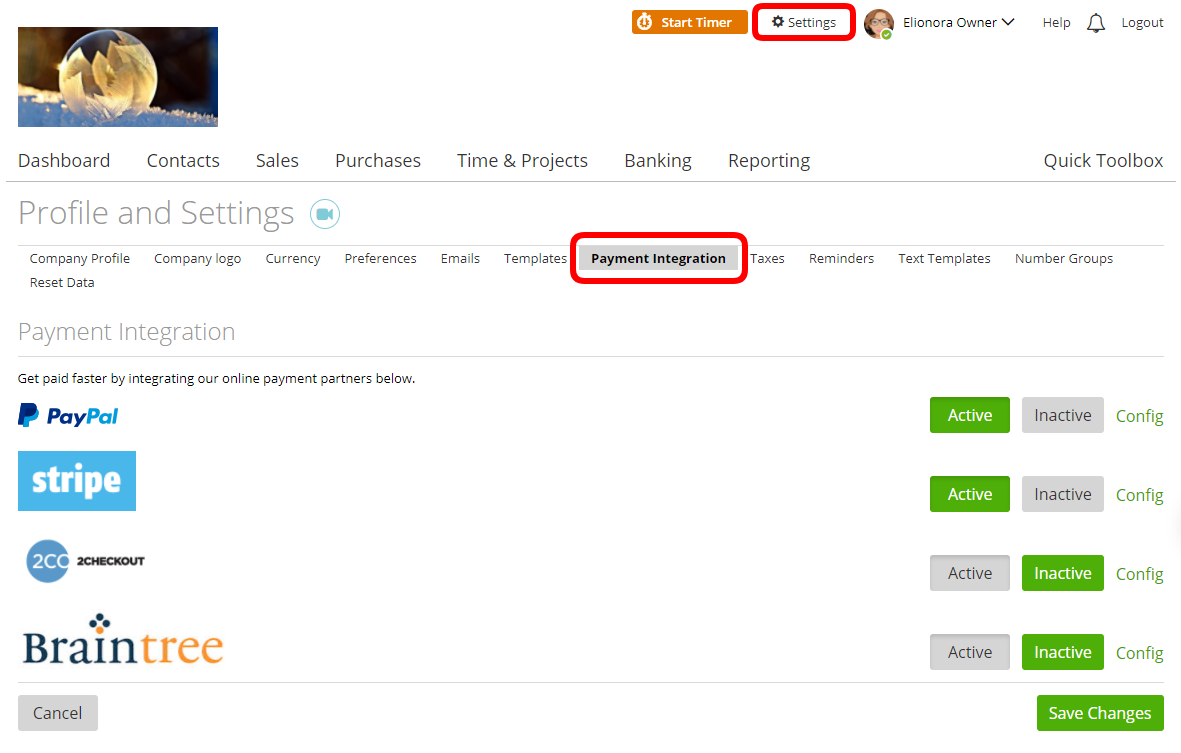
…or go to, Settings -> Payment Integration
– Notes:
– ‘Internal note’ – these will on be visible on the updated Retainer page.
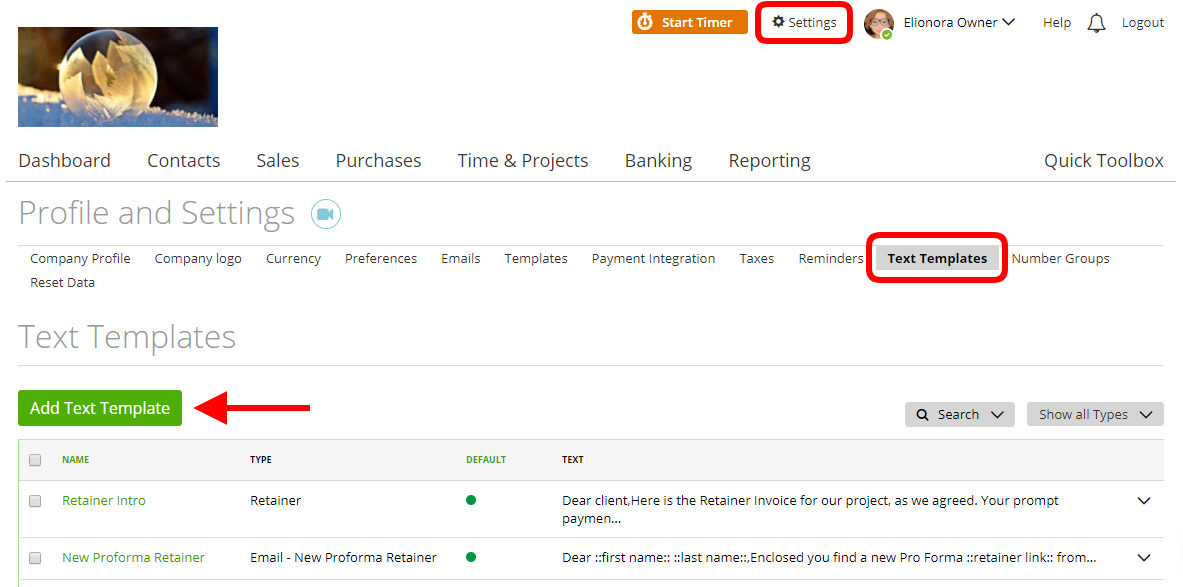
– ‘Client note’, ‘Terms and conditions’ – these will be displayed on the Retainer preview. Also, to customize the default Client notes and default Terms and conditions, go to Settings -> Text Templates.
